Recessed lighting is one of those upgrades people put off for years and then wonder why they waited. In Bellevue, recessed lighting installation cost runs about $150 to $350 per can in an existing ceiling, or roughly $850 to $1,900 for the six lights that cover a typical kitchen.
If the ceiling is already open — during a kitchen remodel, say — the same cans cost close to half that.
Below is what the job actually costs here in 2026, the Bellevue permit rule that catches people on bigger jobs, and what Washington’s energy code requires of the fixtures themselves. All prices are estimates; your ceiling decides the final number.
Recessed lighting cost in Bellevue at a glance
| Scope of work | Estimated cost |
|---|---|
| Per can — existing ceiling, drywall cut and patched | $150 – $350 |
| Per can — ceiling already open during a remodel | $80 – $200 |
| 6 cans, typical kitchen, existing ceiling | $850 – $1,900 |
| 6 cans, same kitchen, ceiling open | $450 – $1,150 |
| 10 cans, larger kitchen or great room | $1,100 – $2,900 |
| Wiring that has to route around joists or ducts | Add a couple hundred per light |
| Sloped or vaulted ceiling housings | Add $20 – $120 per can |
| Dimmer switch — standard / smart | $55 – $150 / $85 – $200 |
| Under-cabinet LED run | $250 – $900 |
| Drywall patch and paint touch-up | $150 – $600 |
| LED retrofit kit for existing cans | $5 – $40 per can |
| Bellevue electrical permit and inspection | Budget $150 – $250 |
National cost guides put this at $125 to $300 per light in an existing ceiling and $65 to $175 in new construction, with a national average around $180 per can across 764 reported projects. The Eastside sits at the upper end of that, mostly because licensed electrician rates here are near the top of the national band and because the permit and inspection step is real rather than optional.
What you are actually paying for, per can
A recessed light looks like a small job. It is really four small jobs stacked together.
The fixture: $50 to $100. Housing plus trim. The housing is the metal can above the drywall; the trim is the ring you see. Basic trims start around $6 and adjustable gimbal or wall-wash trims run to $90.
The labor: $75 to $200. An electrician needs 30 minutes to 2 hours per can, depending on access. Most of that time is not the light — it is getting power to it.
The wire path. This is the variable that decides your quote. If there is an attic above and a clear run, it is quick. If the electrician has to route around joists, ducts or plumbing, add a couple hundred dollars per light. If there is a finished floor above instead of an attic, the wire has to come from somewhere else entirely and the number climbs.
The repair after. Drywall patch and paint touch-up, typically $150 to $600 depending on how many holes were opened and whether the ceiling is textured. Anyone quoting can lights without mentioning patching is quoting you half the job.
The cheapest time to do this is during a remodel
Cans cost 40 to 50 percent less to install while a ceiling is open. That is not a small discount and it is the single best piece of advice in this article.
If a kitchen remodel is anywhere in your plans, the lighting goes in while the drywall is off, the electrician is already on site, and nobody is patching anything afterward. Six cans that would cost $850 to $1,900 as a standalone visit land closer to $450 to $1,150 as part of the job.
The same logic applies to anything else that opens a ceiling — removing a load-bearing wall for an open-concept kitchen, or a ceiling that is coming down anyway. If you are already planning the work, our Bellevue kitchen remodel timeline guide shows where the electrical rough-in falls in the schedule.
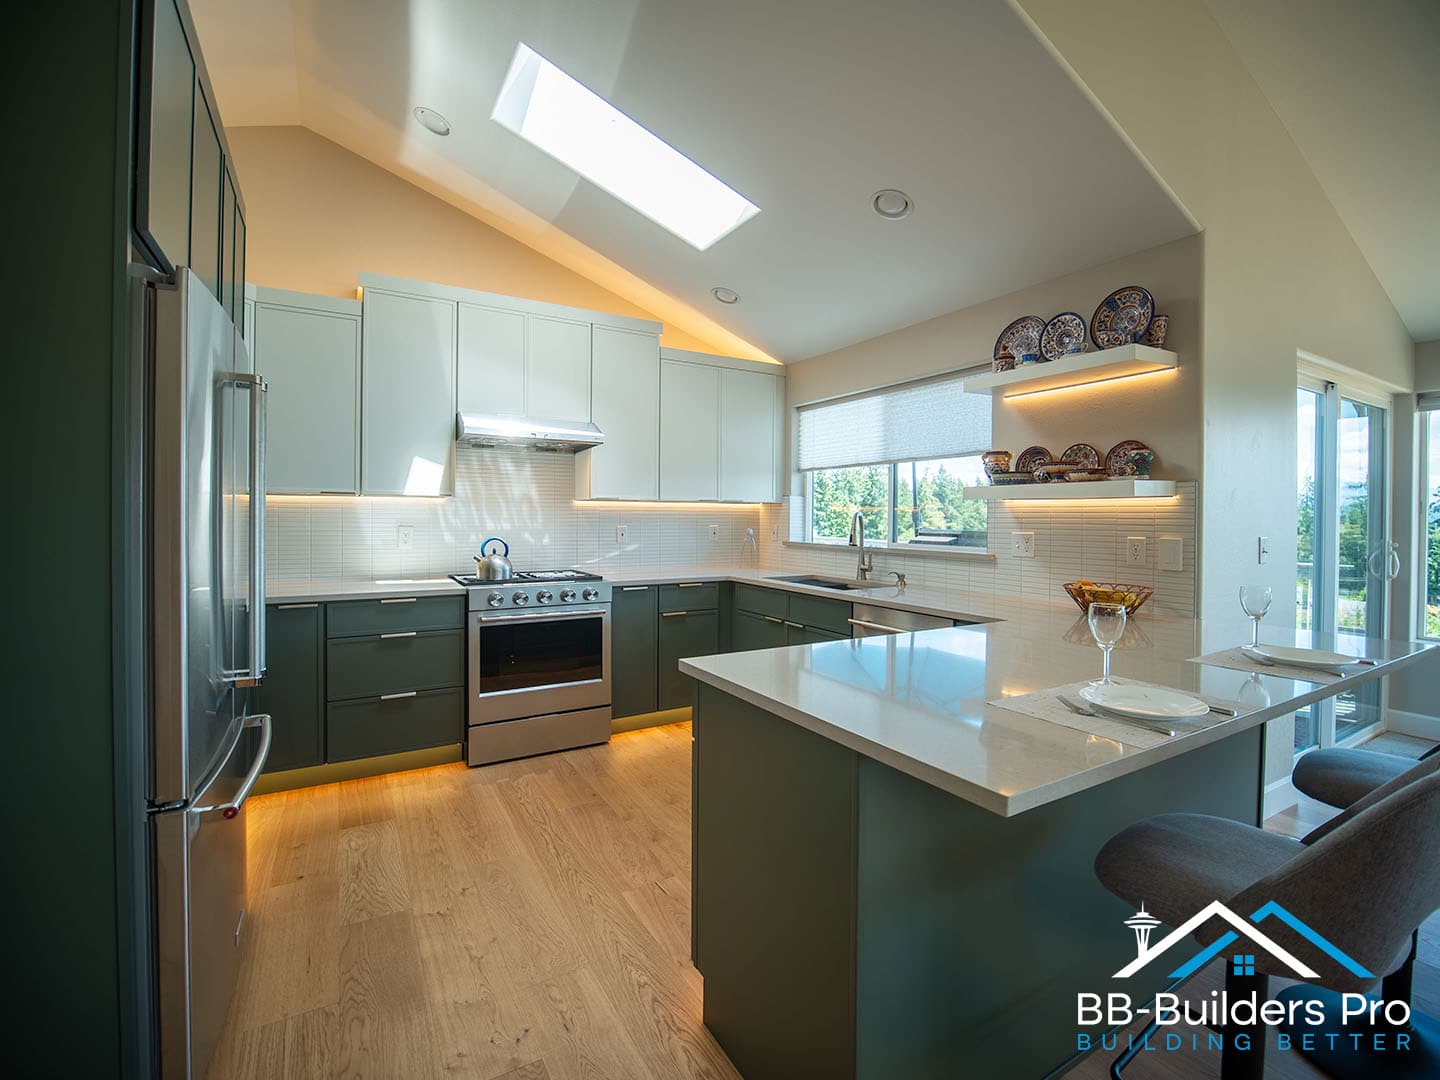
Bellevue’s 50 percent rule — the one that catches people
Here is the local detail almost nobody writes about.
Bellevue requires an electrical permit for adding or altering a branch circuit, which recessed lighting always does. That part is routine. The useful part is what happens next: electrical permits that do not require plan review are issued the same day, and they still get inspected.
But Bellevue’s plan-review trigger list includes “replacing 50 percent or more of the lighting luminaires.” Cross that threshold and your same-day permit becomes a plan review instead.
For one kitchen, you are nowhere near it. For a whole floor, or a whole-house lighting refresh done in one permit, you can absolutely trip it — and that is a scheduling decision worth making on purpose rather than discovering at the counter. Sometimes the answer is to phase the work. Sometimes it is to accept the review and plan around it. Either way, you want to know before you start.
Applications go through MyBuildingPermit.com, the shared portal Bellevue uses along with Renton, Kirkland, Redmond and about a dozen other King and Snohomish cities. A licensed contractor pulls this. If a quote does not mention a permit, that tells you what else is being skipped — the same warning sign we flag in our guide to kitchen remodel permits in King County.
What Washington code requires of the cans themselves
Two requirements matter here, and both rule out the cheapest fixtures on the shelf.
IC-rated and airtight. Any recessed luminaire installed in the building thermal envelope — which means any ceiling with insulation above it — has to be Type IC-rated and certified under ASTM E283 to leak no more than 2.0 cfm of air. It has to carry a label proving it, and it has to be sealed with a gasket or caulk where the housing meets the drywall.
That is not a premium upgrade. It is the code. A non-IC can sitting in blown-in insulation is a fire concern, and a leaky can is a hole in your ceiling that vents heated air into the attic all winter. In a climate that runs the furnace eight months a year, twelve of those add up.
High-efficacy sources only. Under the 2021 energy code, all permanently installed lighting fixtures — excluding kitchen appliance lighting — must use high-efficacy sources. The requirement was 75 percent in 2015 and 90 percent in 2018; it is now effectively all of them. In practice this means LED, which you would have chosen anyway.
How many lights, and where
The rule of thumb lighting designers use is one can per 25 square feet of floor area, spaced 4 to 6 feet apart.
A quick way to check spacing: divide the ceiling height by two. An 8-foot ceiling wants lights about 4 feet apart. Keep them 2 to 3 feet off the walls — pushed too close, they throw shadows up the wall and make the ceiling read lower than it is.
For a kitchen specifically:
- 4-inch or 5-inch cans are the right size. Six-inch cans are fine in a great room but read heavy over a work surface.
- Put a light directly over the sink and over the range, not centered in the room. Those are the two places you need task light on your hands rather than on the back of your head.
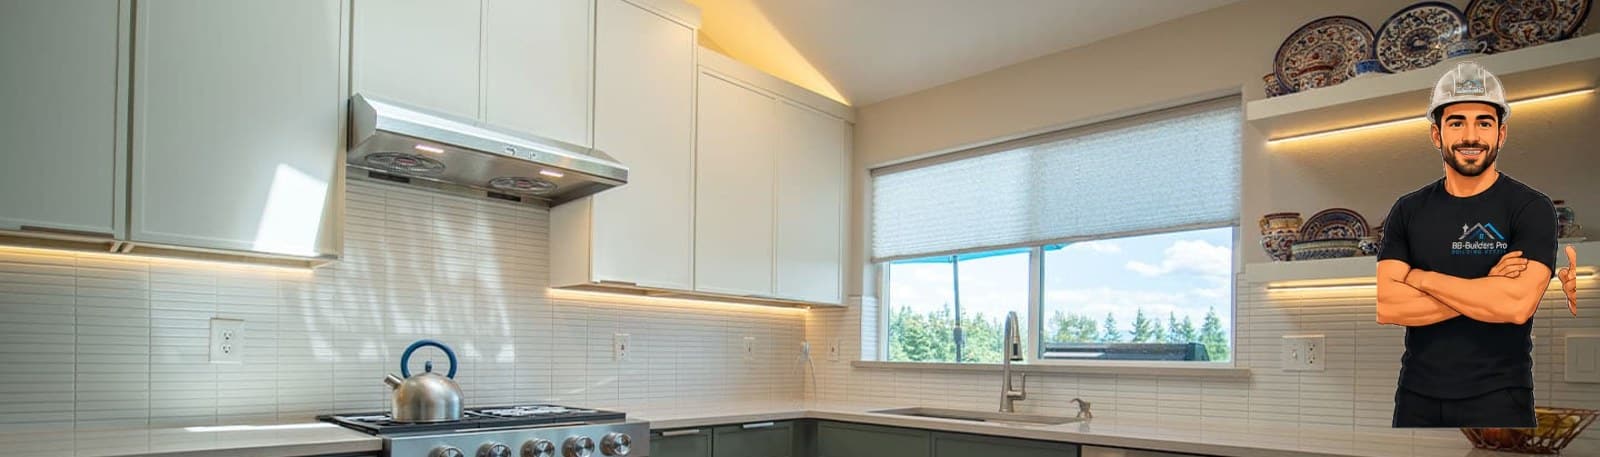
- Do not light the ceiling and call it done. Overhead cans put light on top of your upper cabinets and leave the countertop in shadow, because you are standing between the light and the counter. That is what under-cabinet lighting is for.
If you are laying out an island at the same time, our kitchen island cost guide covers how pendant placement and can spacing interact.
Under-cabinet lighting
This is the upgrade people are happiest about after the fact, and it is usually the cheapest line on the lighting quote: $250 to $900 for a typical kitchen run, against a national average around $400.
Hardwired LED strips or bars under the uppers put light directly on the countertop where you are actually working. If the cabinets are already off during a remodel, the wiring is nearly free to add. If they are staying put, it is still straightforward — the electrician runs it through the back of the cabinet boxes.
Worth doing at the same time as the cans, on the same dimmer plan, by the same electrician, under the same permit.
Ceilings that cost more
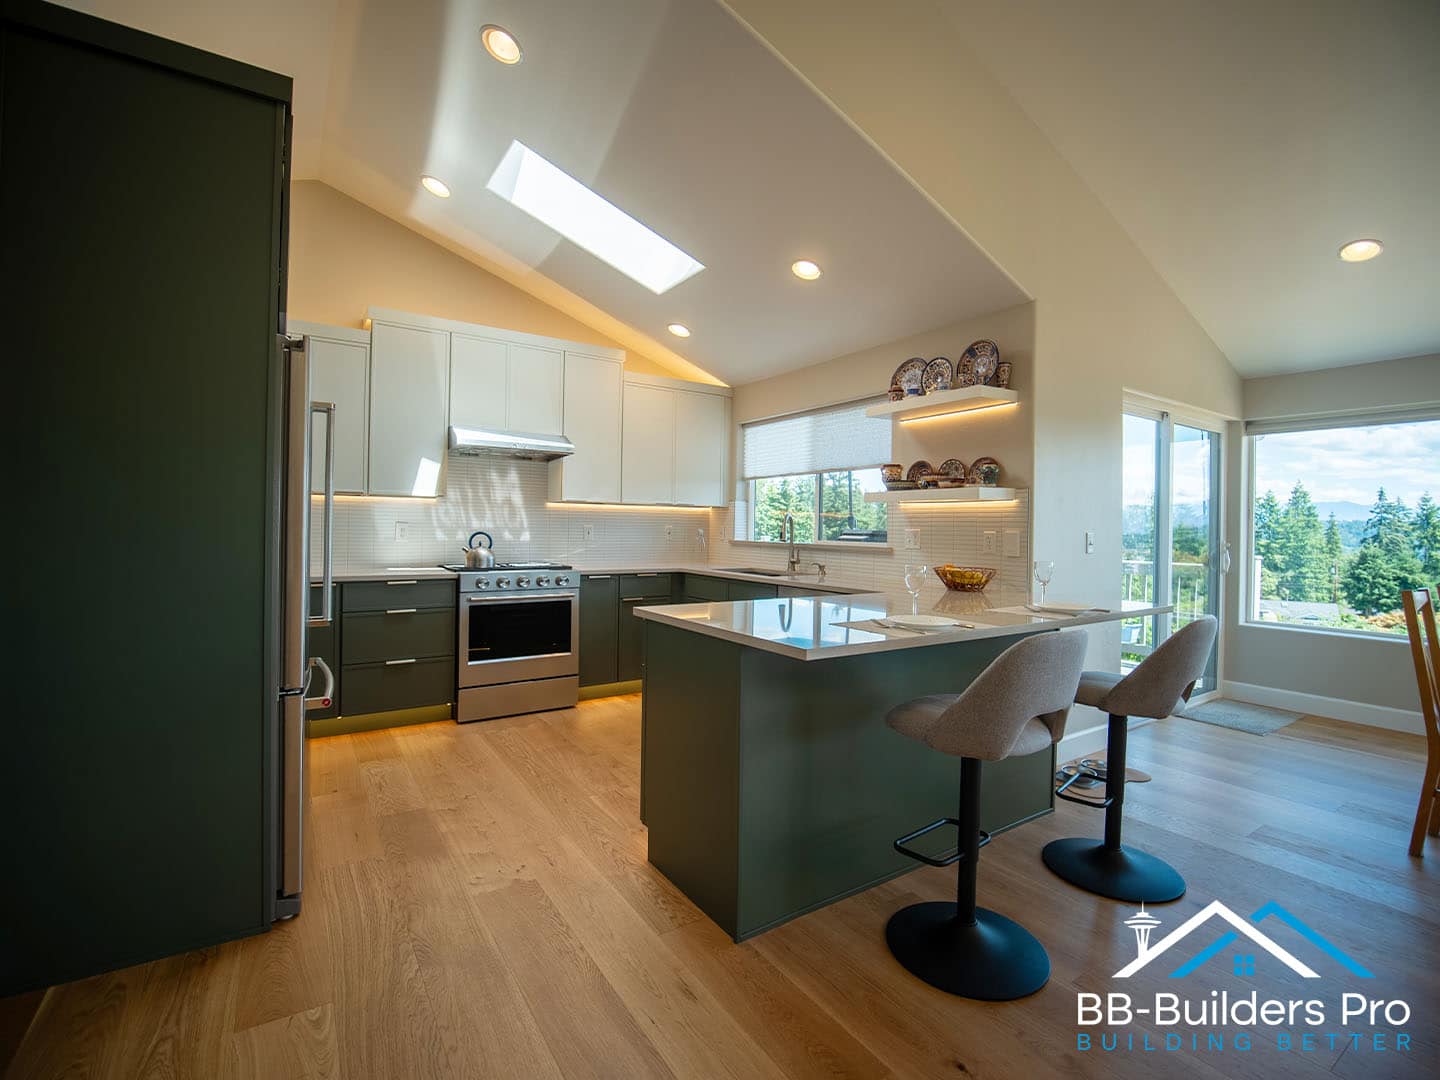
Vaulted or sloped ceilings. Need sloped housings, which cost more and take longer to aim correctly. Add $20 to $120 per can for the housing alone.
Shallow joist bays. Older homes sometimes have only 2 to 4 inches of depth to work with, which forces shallow or wafer-style housings.
A finished floor above. No attic means no easy wire path. This is the single biggest swing factor on a second-story or mid-level ceiling.
Textured or popcorn ceilings. In older Eastside homes, cutting into a textured ceiling raises an asbestos question before anyone starts. It is worth asking your contractor how they are handling it — testing is inexpensive, and finding out afterward is not.
Aluminum, ungrounded or cloth-wrapped wiring. If what is up there is not current, it has to be brought up to code before new cans go in, and that is a much larger conversation than lighting.
The cheap option — LED retrofit kits
If you already have working recessed cans and you just hate how they look or how yellow they are, you may not need an electrician at all. LED retrofit kits cost $5 to $40 per can, clip into the existing housing, and screw into the bulb socket.
They will not move a light that is in the wrong place and they will not add cans where there are none. But if your layout is fine and the fixtures are just dated, this is a $100 afternoon instead of a $2,000 project. We would rather tell you that than sell you something you do not need.
Getting a real number
The honest answer is that nobody can quote recessed lighting accurately without looking at what is above the ceiling. Attic or finished floor, joist direction, existing circuit capacity, ceiling texture — those four things decide your price, and none of them are visible from a photo.
It is a short visit and then you get a fixed number instead of a range.
We do this as part of kitchen remodeling in Bellevue and across our Bellevue remodeling work, and as a standalone job when lighting is all you need.
Call us at 206-851-4233 or get in touch here and we will come take a look.
Frequently asked questions
How much does it cost to install recessed lighting in Bellevue?
About $150 to $350 per can in an existing ceiling, or $80 to $200 per can if the ceiling is already open. Six lights in a typical kitchen run $850 to $1,900 installed. National guides put the same work at $125 to $300 per light; the Eastside sits at the upper end on electrician rates. All figures are estimates.
How much does it cost to install 6 can lights in a kitchen?
$850 to $1,900 in an existing ceiling, and $450 to $1,150 if the drywall is already off during a remodel. Recessed lights cost 40 to 50 percent less to install while the ceiling is open, which is why it is worth bundling with other work.
Do I need a permit for recessed lighting in Bellevue?
Yes. Bellevue requires an electrical permit for adding or altering a branch circuit, which recessed lighting does. The good news is that electrical permits not requiring plan review are issued the same day, though they still get inspected. Watch one threshold: replacing 50 percent or more of the lighting luminaires puts the job into plan review instead.
How many recessed lights do I need?
Roughly one per 25 square feet, spaced 4 to 6 feet apart, kept 2 to 3 feet off the walls. A fast check on spacing is to divide your ceiling height by two. In a kitchen, put lights directly over the sink and range rather than centering them in the room.
Does recessed lighting have to be IC-rated in Washington?
In any insulated ceiling, yes. Washington’s energy code requires recessed luminaires in the building thermal envelope to be Type IC-rated, certified to leak no more than 2.0 cfm, labeled to show it, and sealed with gasket or caulk at the ceiling. Fixtures must also use high-efficacy sources under the 2021 code.
Can I replace my old can lights without rewiring?
Usually. LED retrofit kits cost $5 to $40 per can and clip into the existing housing — no electrician needed if the fixtures work and you like where they are. Retrofit kits fix the look and the color temperature, not the layout.
How long does the job take?
Budget 30 minutes to 2 hours per can, so a six-light kitchen is typically a day, plus a separate short visit for drywall patch and paint once the inspection passes.