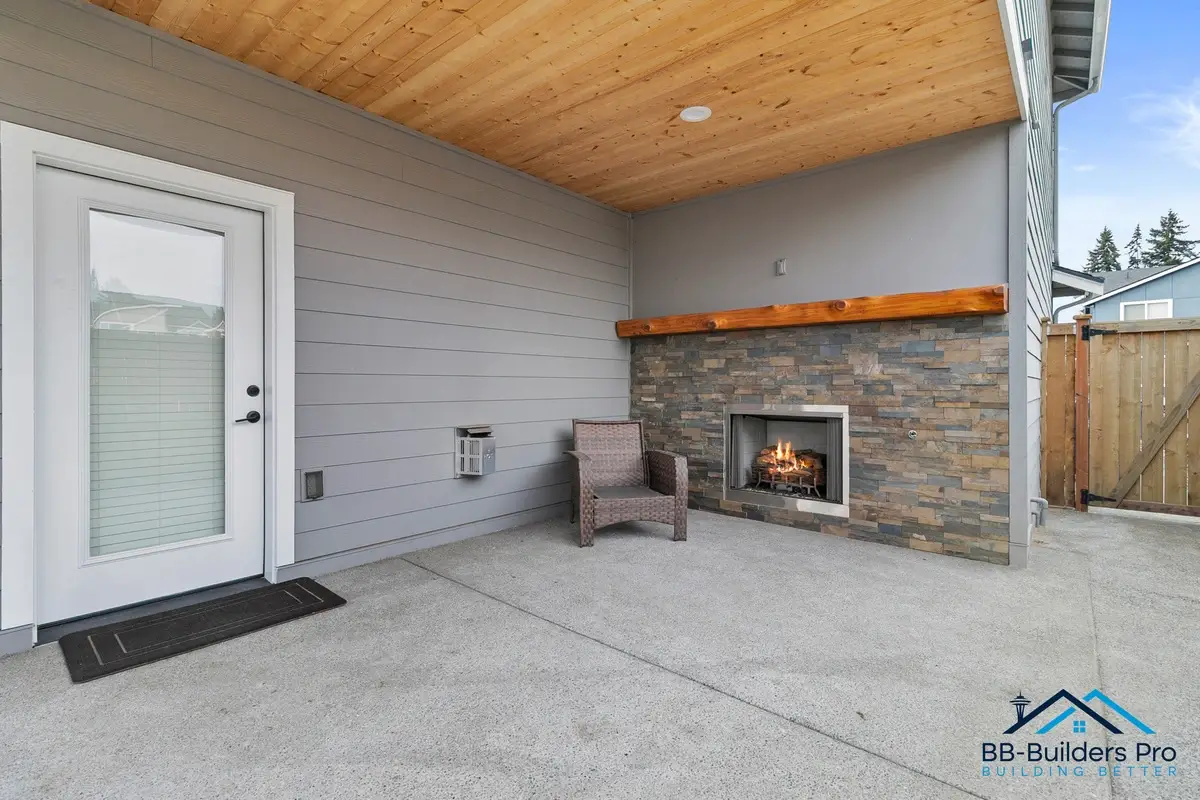
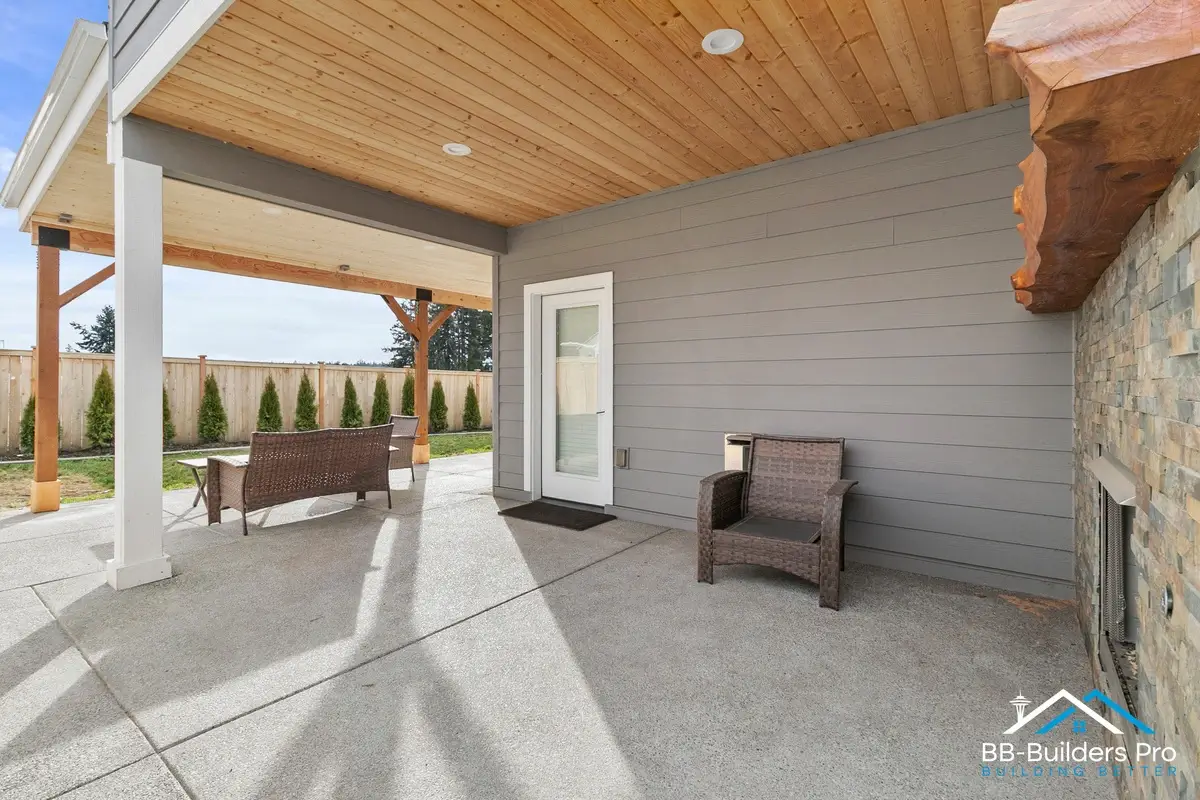
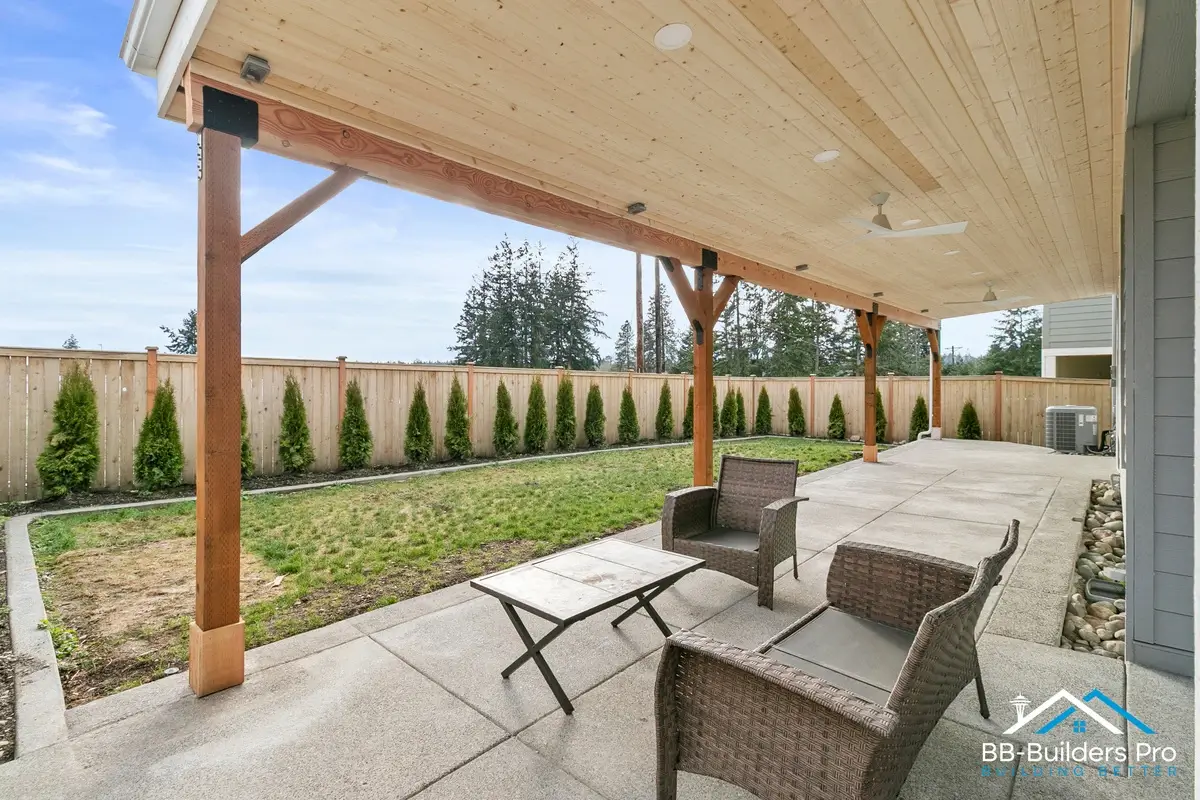
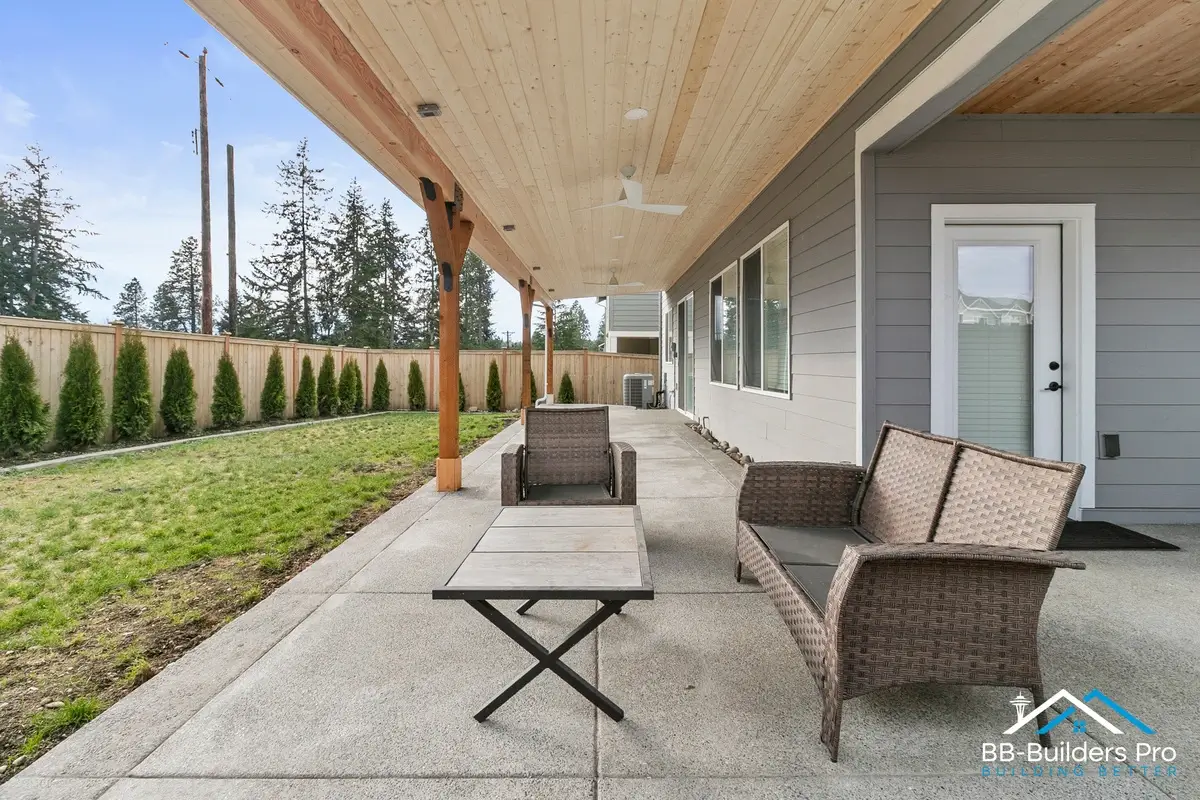
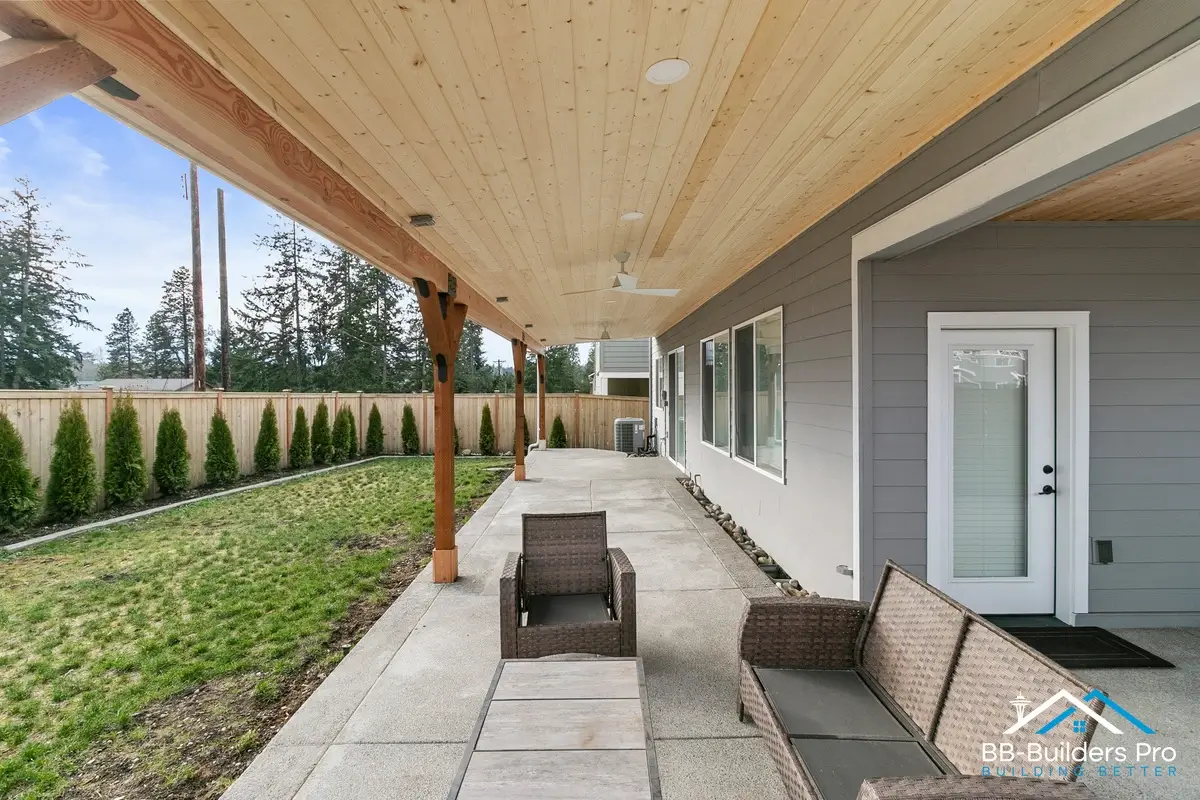
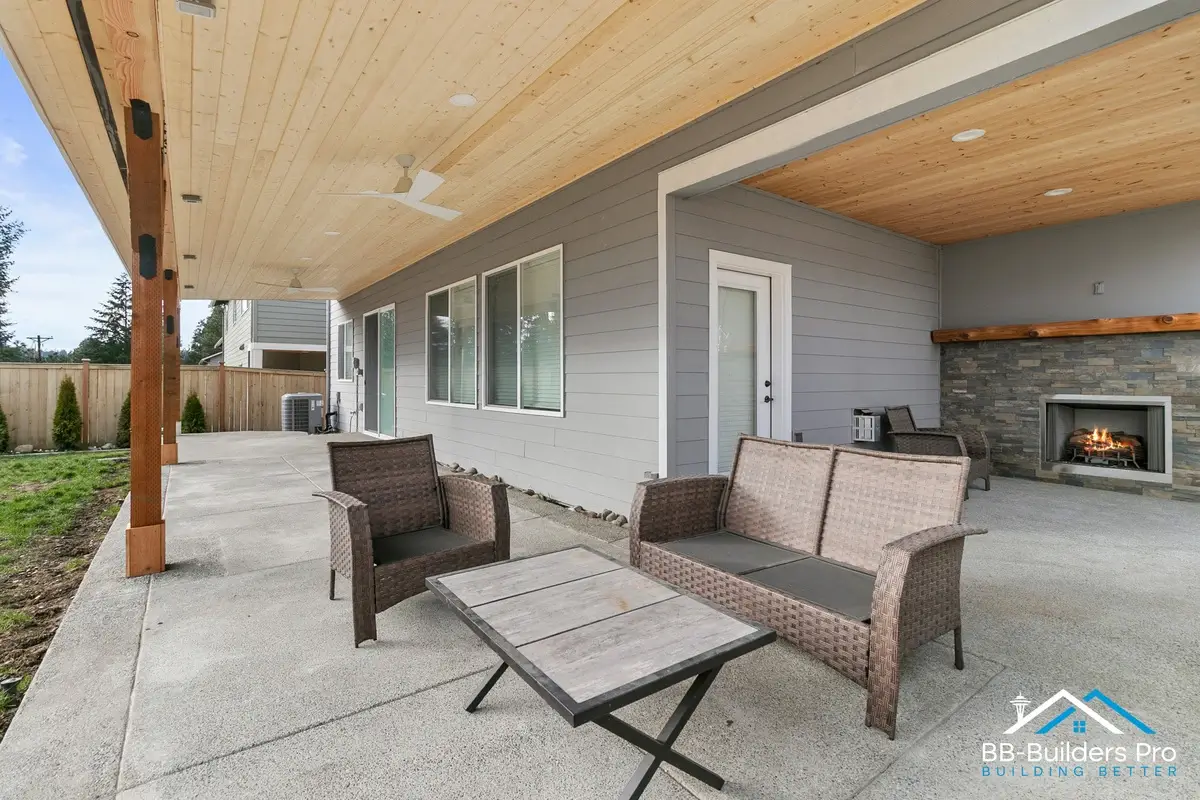
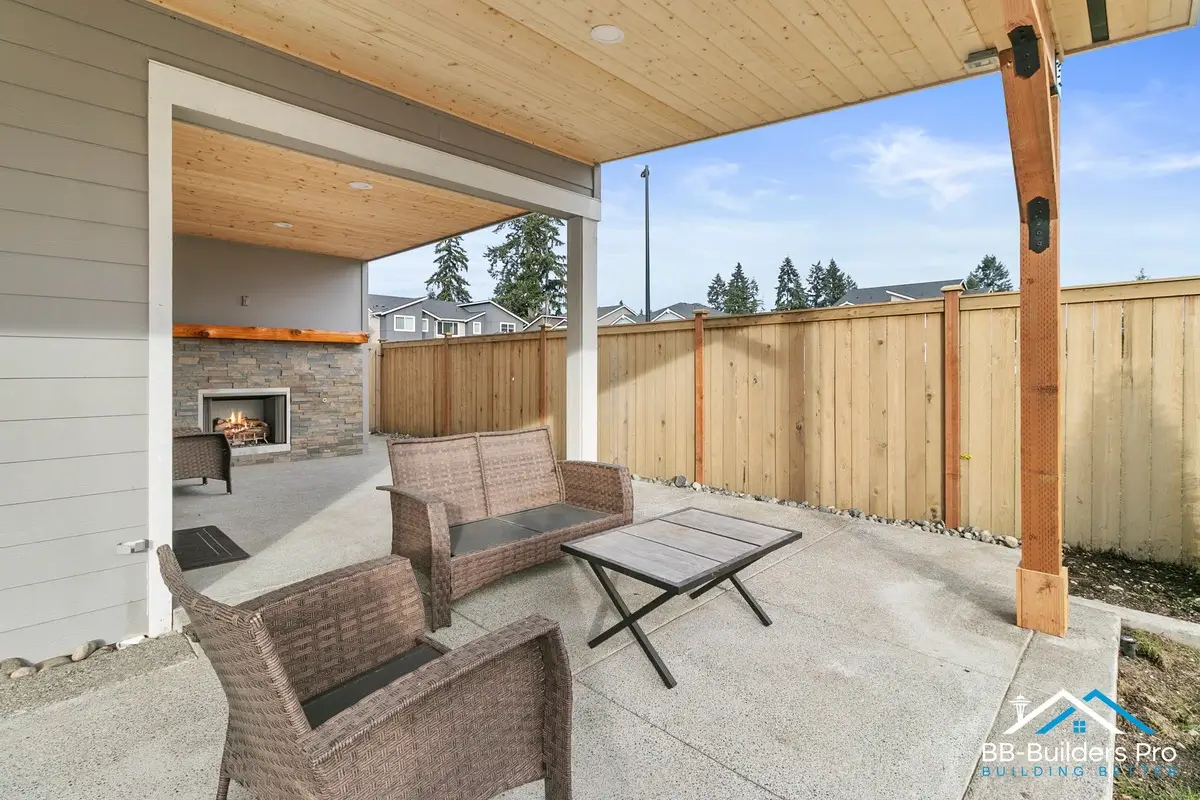
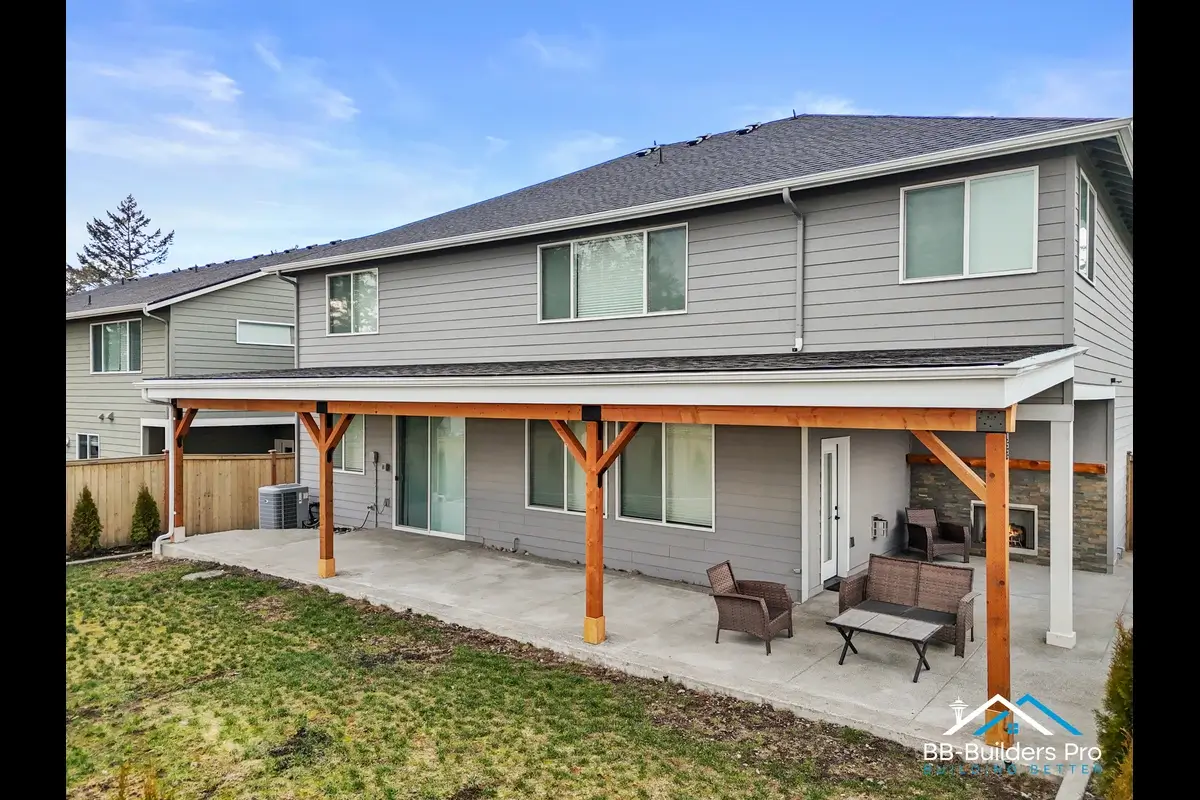
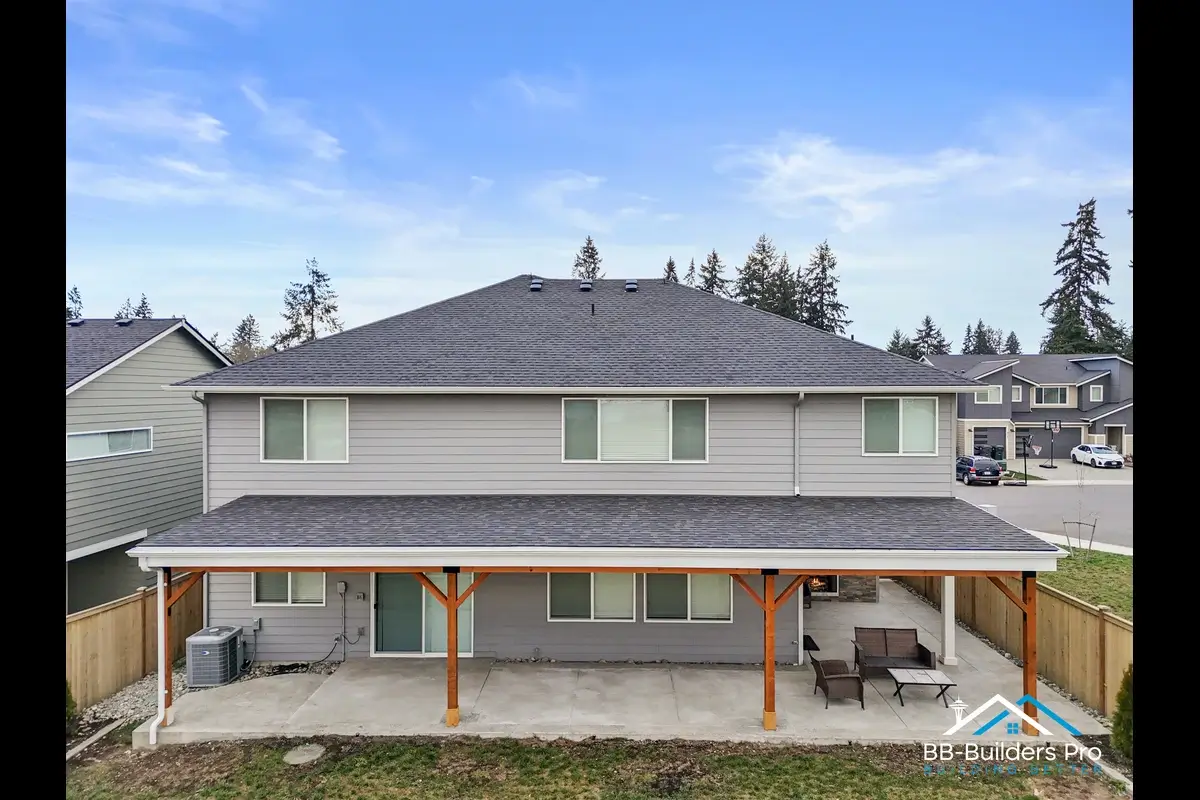
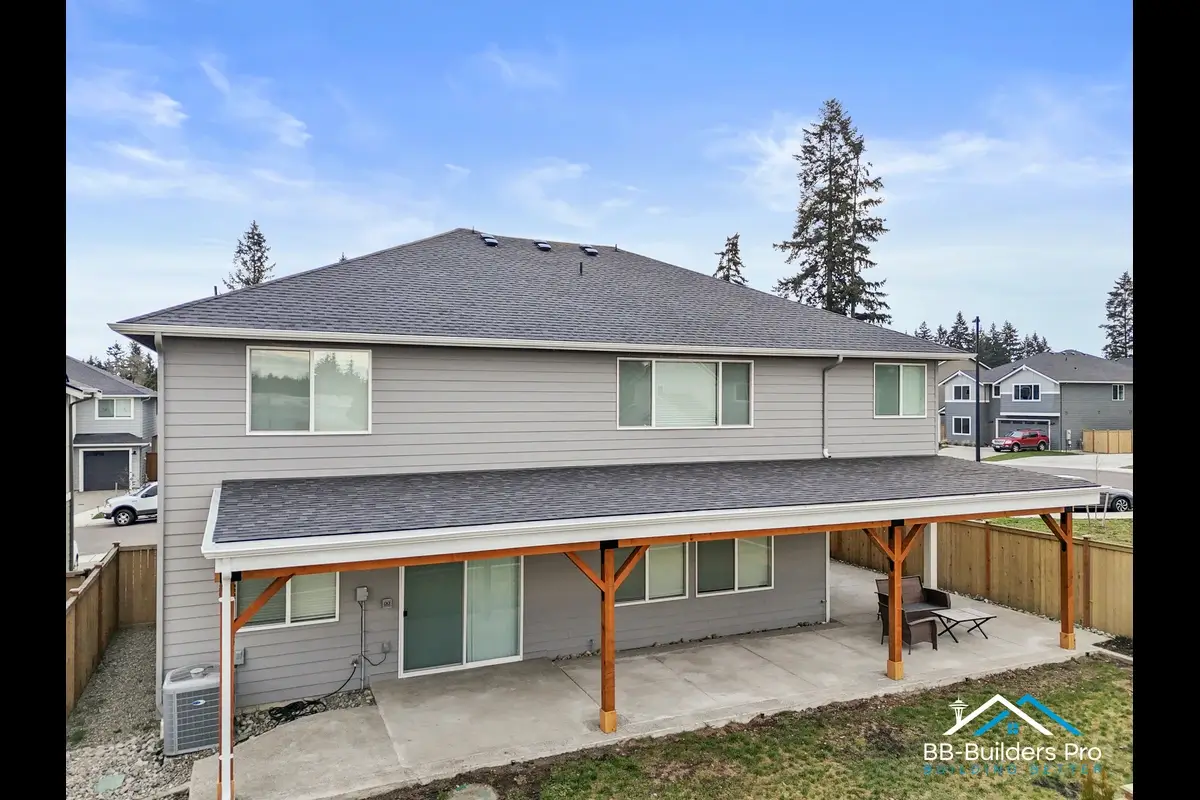
A patio cover construction project in Seattle, WA featuring single-slope roof framing, concrete footing installation, roofing, waterproofing, recessed can lighting, and a 130 sq ft concrete patio extension.
This patio cover project in Seattle required coordinating multiple trades in sequence. Site preparation, concrete work, structural framing, roofing, and electrical work were all completed in order. Seattle’s wet climate makes proper waterproofing and drainage critical at every phase. Roofing underlayment, ice and water shield, and metal flashing were treated as structural requirements from the start. Detailed architectural plans were prepared before construction began. Permits were submitted and approved before any work started. A pre-construction meeting was held to review the layout and confirm task sequencing.
A site assessment was completed to confirm access points and utility shut-offs. The existing sprinkler system was relocated 1.5 feet away from the new patio footprint. Protective measures were put in place for all adjacent areas. Concrete footings were excavated and poured to support the patio cover posts. All footings were inspected before the pour. Anchor brackets were embedded into the footings to secure the structural posts. The existing concrete patio was extended by 130 square feet to match the current surface finish.
Pressure-treated post bases were anchored into the newly poured footings. Ridge beams, rafters, and headers were installed using hurricane ties and proper fasteners. The roof follows a single-slope design finishing at 37 feet long, 12 feet wide, and 10 feet high. Roof sheathing was fastened across the rafters using exterior-rated nails. All openings for light fixtures were framed out and weather-sealed before roofing began.
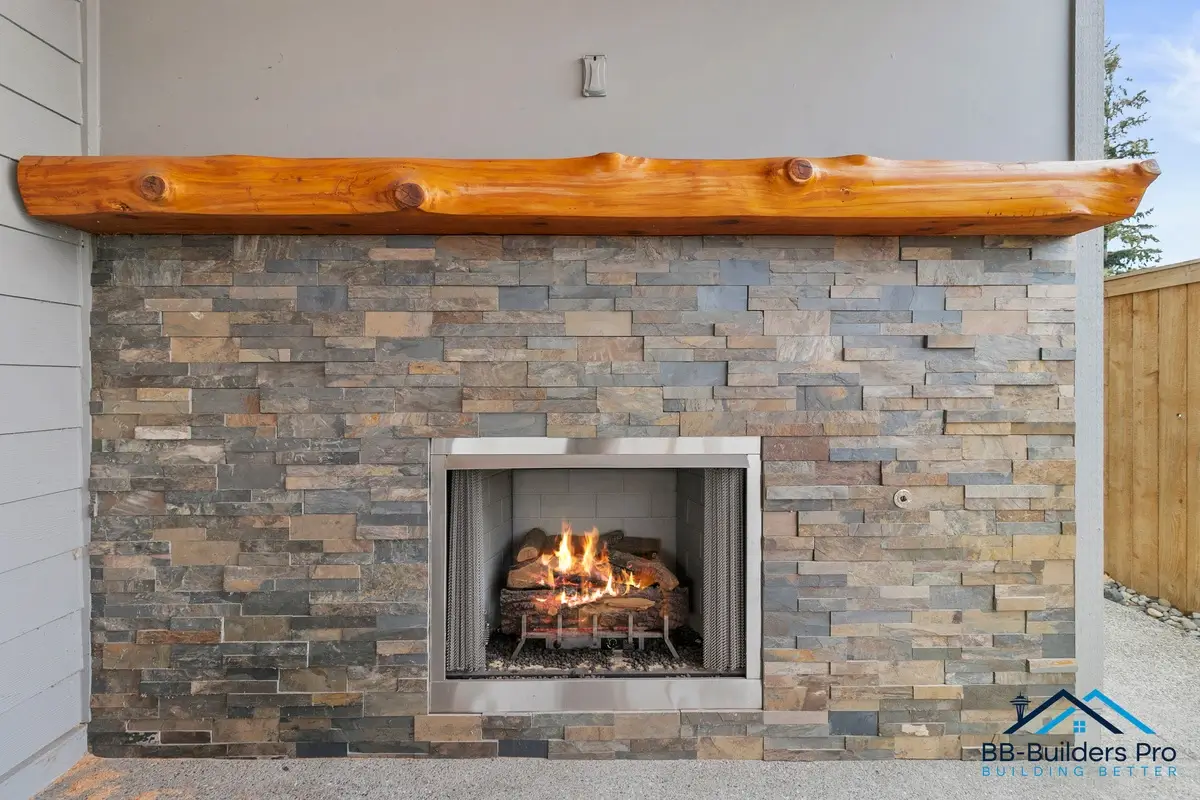
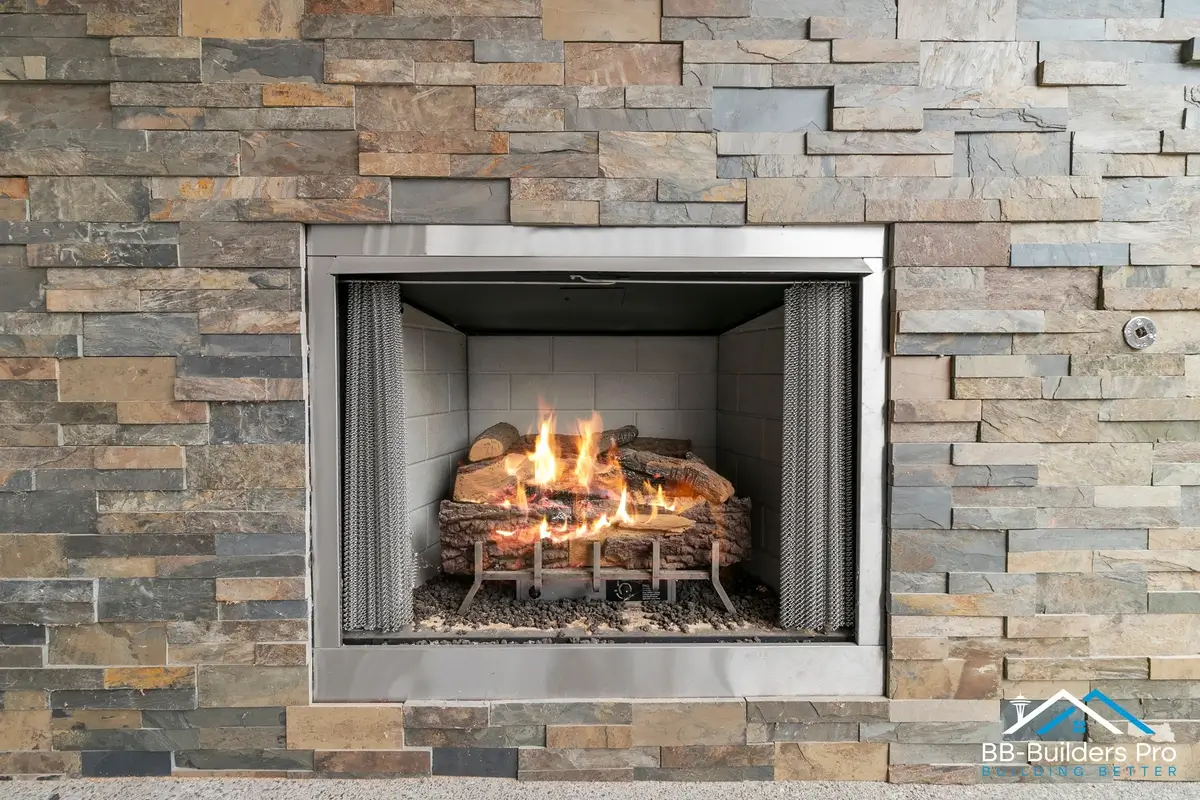
Underlayment was applied over the sheathing as a secondary waterproof barrier. Ice and water shield was installed at eaves and valleys per code. All seams were overlapped and fastened to prevent water intrusion. Starter shingles were set along the roof edges. Roofing shingles were matched to the existing house roof. Shingles were installed using proper nailing patterns and ridge caps per manufacturer guidelines. Metal flashing was installed at all wall intersections, rakes, and valleys. All flashing joints were caulked and sealed. Ventilation components were added to prevent moisture buildup inside the structure. The roof system was connected to the existing gutter and downspout system.
Electrical conduit was run from an existing switch to the new patio cover area. The space was wired and prepped for 16 recessed can lights, 2 ceiling fans, and 3 standard outlets. Electrical boxes were stubbed out in the ceiling framing for all 16 fixtures. All electrical work meets local building code requirements.
A final site cleaning was completed after construction. All debris was removed and finishes were left ready for use. A full client walkthrough was conducted to inspect the completed patio cover. Any issues found during the walkthrough were documented and corrected. This included paint touch-ups, hardware adjustments, and millwork corrections.
Project type
Patio
Timeline
4 – 5 weeks
Budget range
$30K – $60K
Location
Recent Project