Adding a bathroom to your home in Seattle requires careful planning. You’ll need to mind your choices, from choosing the best space for the conversion to protecting your new bathroom against the persistent Pacific Northwest moisture. In this guide, we will explore the benefits of having a new bathroom, where to place it, and how much it will cost you down the road.
Why Consider Adding a Bathroom to Your Home?
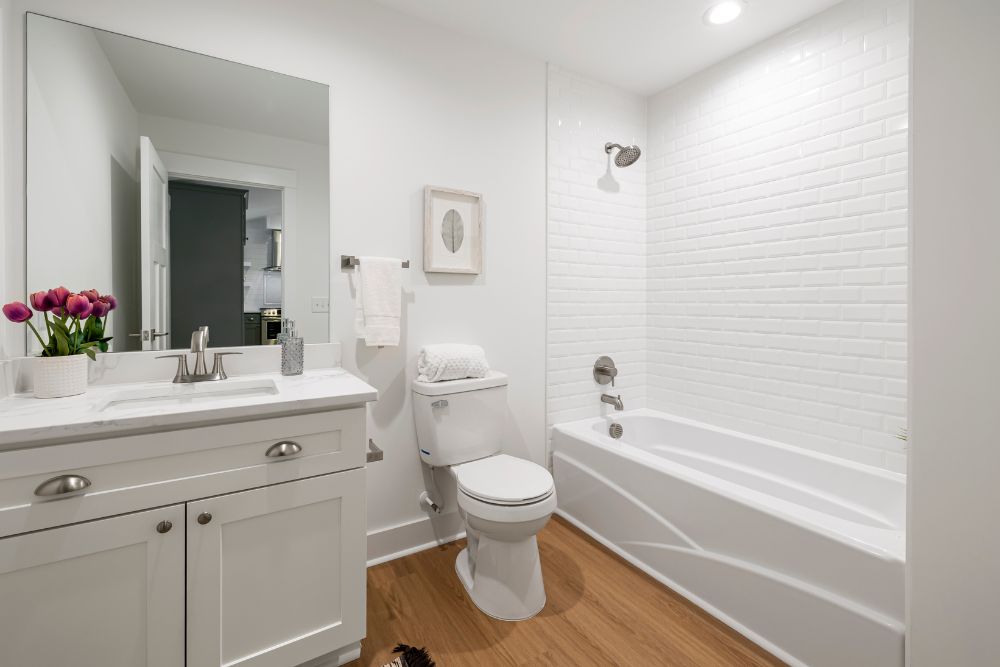
There’s more to adding a bathroom to your home than easing the morning rush. In the Emerald City’s competitive housing market, it offers the following advantages:
- Boost in property value. Adding a new bathroom can improve your home’s resale value by 55% to 75%, depending on the quality and neighborhood housing demand. A new bathroom gives your property an edge in Seattle’s real estate market, where old homes tend to have single bathrooms with limited space.
- Improved daily flow. One of the most obvious benefits of a new bathroom is the added utility. It lets more than one household member take care of their daily hygienic routines at a time, reducing morning bottlenecks and allowing for more manageable schedules.
- Aging in place. An additional bathroom designed for accessibility gives seniors a space for their daily routines without compounding daily traffic.
Best Places for a Bathroom Addition in a Seattle Home
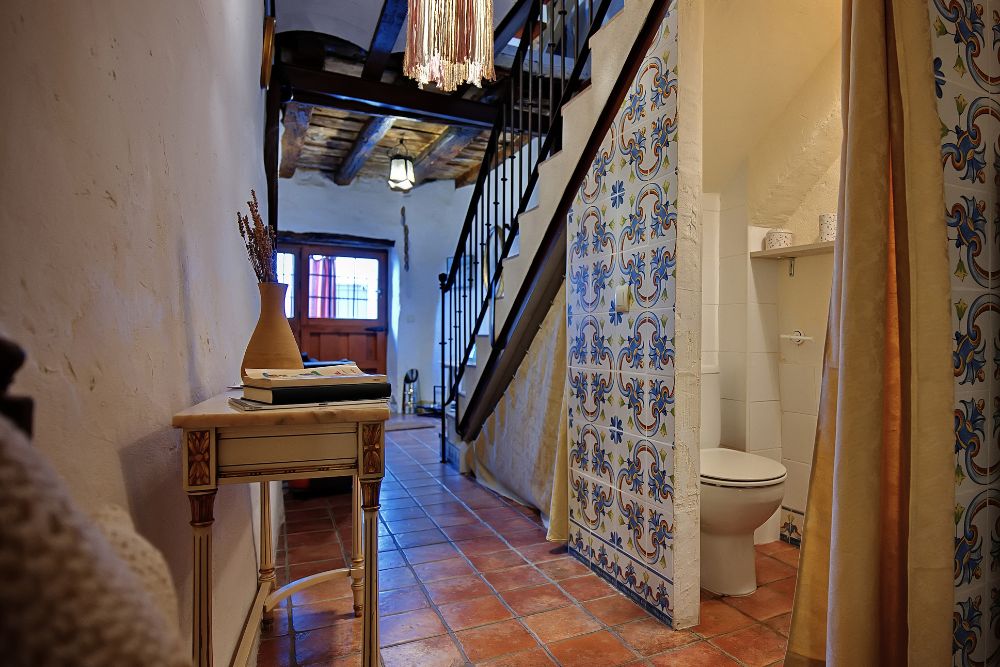
In Seattle, it’s not always possible to bump out your home to accommodate a new bathroom. In dense, old neighborhoods like Ballard and Capitol Hill, it usually means trading extra living space for additional utility. You can start with the following, underappreciated spaces:
Basement
The basement can be more than storage. With a bit of work, you can turn it into a comfortable bathroom. Assuming you have secured the right permits, here’s how you can tackle your basement-to-bathroom project:
- Ensure you have adequate headroom. You’ll need a 7-foot floor-to-ceiling clearance to comply with the Seattle Building Code. If needed, lower the slab or reclaim height between ceiling joists.
- Evaluate the basement plumbing. If the plumbing is not at the right depth or location, you may need to break the slab to slope new drain pipes toward the sewer mains. Use an upflush macerating toilet or a sewage ejector pump system if gravity drainage is not feasible.
- Manage the moisture. Apply waterproofing membranes, backerboards, and appropriate tiling. Install a ventilation system that complies with the Seattle Mechanical Code’s requirements.
- Install the fixtures. With the tiles set and the HVAC system in place, you can install the fixtures, including the toilet, sink, and shower.
Primary Bedroom Suite
The master’s bedroom usually has more space than is needed for a comfortable stay. This makes it an appropriate candidate for a new en-suite bathroom addition. Here’s how to reclaim some primary bedroom space for your new bathroom:
- Check the square footage. Allocate 35 to 50 square feet for a full bath. Make sure to leave room for bedroom furniture.
- Find nearby plumbing lines. Position your bathroom near the nearest plumbing line to minimize the cost of adding new supply and drain lines.
- Plan for privacy. Use sound-deadening insulation, such as mineral wool, in the drywall and door cavities, and place the toilet away from the headboard to minimize the noise. This is especially useful if you’re building a Jack and Jill bath or a bathroom that opens to the hallway.
- Install waterproofing and ventilation. Install backerboards, waterproofing membranes, water-resistant tiling, and code-compliant ventilation
- Install the fixtures. Connect the sink, toilet, and shower after the waterproofing has set.
Under the Stairs
The space below the stairs can comfortably accommodate a half-bath or powder room. Here’s how you can fit a bathroom even with the tricky verticals:
- Verify the headroom and clearance. Ensure a width of 35 to 50 inches and a head height of 7 feet.
- Connect to your main plumbing. Place the powder room close to the main vertical plumbing stack to simplify adding new supply and drain lines.
- Add the frame and soundproofing. Build partition walls around the space and pad the wall cavities with mineral wool to dampen the noise.
- Waterproof and ventilate. Waterproof the space and install ventilation as with the previous locations.
- Install space-saving fixtures. Get fixtures that take as little floor and vertical space as possible, such as a wall-hung vanity and round-front toilet.
Attic
The attic is a perfect place for the much-coveted dormer bathroom. Building one means giving plenty of consideration to the lower levels, and here’s how you can pull it off:
- Review the structure. Ceilings may not have the capacity for a bathroom’s weight, so be sure to reinforce joists to support the weight of plumbing, flooring, and fixtures, among others.
- Assess the headroom. At least 50% of your dormer bathroom should meet the 7-foot height requirement of the Seattle Residential Code. This clearance should cover areas where the fixtures are located.
- Run the plumbing. Route supply lines and waste stacks above existing lower-level bathrooms or kitchens to run piping straight down through wall cavities.
- Insulate, waterproof, and ventilate. In addition to standard bathroom waterproofing and ventilation, you will need to insulate your dormer. You’ll need a minimum of R-49 to R-60 insulation for your ceiling and R-21 insulation for your wall cavities.
- Set your fixtures. Lightweight, low-profile fixtures like floating vanities and knee-wall toilet tanks work best for dormer baths.
Crucial Seattle-Specific Considerations
Before you start adding a bathroom to your home, it’s important to consider Seattle-specific construction factors. These are as follows:
Seattle Permits
Seattle follows a rigid permitting process for home modifications, including bathroom additions. This enforces compliance with the city’s building codes, which are based on sound engineering and safety practices. Homeowners can apply for permits, along with the required inspections, via the Seattle Services Portal.
Ventilation and the Pacific Northwest Climate
The Pacific Northwest climate is notoriously humid, especially during winter. Keeping your bathroom dry requires installing a heavy-duty ventilation system. To effectively exhaust damp air, your vents should have an airflow of 50 cubic feet per minute (CFM) for intermittent fans or 20 CFM for continuously running systems.
Connection to Existing Plumbing
The most cost-effective way to connect your bathroom addition’s drain, waste, and vent lines to your mains is placing your new bathroom near an existing plumbing stack. If that’s not possible, you will need to run new drain lines under the floor, maintaining a slope of ¼ inch per foot toward the sewer main to facilitate gravity drainage.
How Much Does a New Bathroom Installation Cost?
In Seattle, adding a new bathroom to your home will cost you $44,455, on average. This covers the following expenses:
- Labor and installation
- Plumbing infrastructure
- Permits and inspections
- Building materials
- Structural preparations
- Fixtures
- Finishes and surfaces
- HVAC and mechanical systems
Existing Space vs. New Addition
A new bathroom installation cost varies significantly depending on whether you’re converting an existing interior space or you’ve built a new bump-out extension. Here’s a quick comparison to illustrate:
| Expense Category | Percent of Total | Interior Conversion Average | Bump-Out Addition Average |
| Trade & General Labor | 50% | $10,500 | $27,560 |
| Plumbing & Drainage | 18% | $3,780 | $9,920 |
| Fixtures & Mechanicals | 12% | $2,520 | $6,615 |
| Surfaces & Finish Materials | 10% | $2,100 | $5,512 |
| Foundation, Exterior & Framing | 5% | $1,050 | $2,756 |
| Permits & City Fees (SDCI) | 2.5% | $525 | $1,378 |
| Contingency Cushion | 2.5% | $525 | $1,379 |
| Total Average | $21,000 | $55,120 |
Factors Impacting Price
The size and complexity of your space primarily dictate the final cost of your bathroom addition. On top of that, here are the main factors that impact the price of adding a bathroom to your home:
- Distance to existing plumbing lines. The closer your bathroom is to the existing plumbing stack, the less piping you need to connect your new lines to the mains. Conversely, bathrooms located far from the plumbing stack will require new lines to be installed under the floors.
- Material choices. Stock materials bought in bulk are always cheaper than custom components and one-off purchases. Additionally, material costs tend to increase with the material’s quality and durability.
- Structural changes. Any work that alters the structure of your home incurs additional costs. You will need to pay for the labor needed to modify your house’s structure.
Add Value and Comfort to Your Seattle Home
Adding a bathroom to your home is not just a great way to boost your home’s resale value. It’s also a worthwhile investment that delivers comfort to your household by easing the stress of daily rushes. Whether you’re converting an underutilized basement or adding a primary bedroom en-suite, the returns are all worth the effort.
Ready to convert your space into a new bathroom? Work with a Seattle bathroom addition contractor you can trust. BB-Builders Pro is especially experienced and well-equipped in transforming Seattle residential spaces. We expertly handle everything from permitting to execution, ensuring you peace of mind as we deliver a beautiful, code-compliant bathroom that suits your requirements. Call us today and learn more.
FAQs
Do I need a permit for adding a bathroom to my home in Seattle?
Yes, SDCI will require a permit for your bathroom addition to ensure you comply with the relevant building codes. You can apply for a permit from the Seattle Services Portal.
How long does a bathroom addition take?
This depends on the nature of the addition. Interior conversions could take 3 to 4 weeks, while a bump-out may take anywhere from 3 to 6 months.
Can I add a bathroom anywhere in my house?
Yes, you can technically add a bathroom anywhere in your house. Regardless of the location, your bathroom addition should prioritize proper plumbing connections, comfortable dimensions, and adequate ventilation, among others.