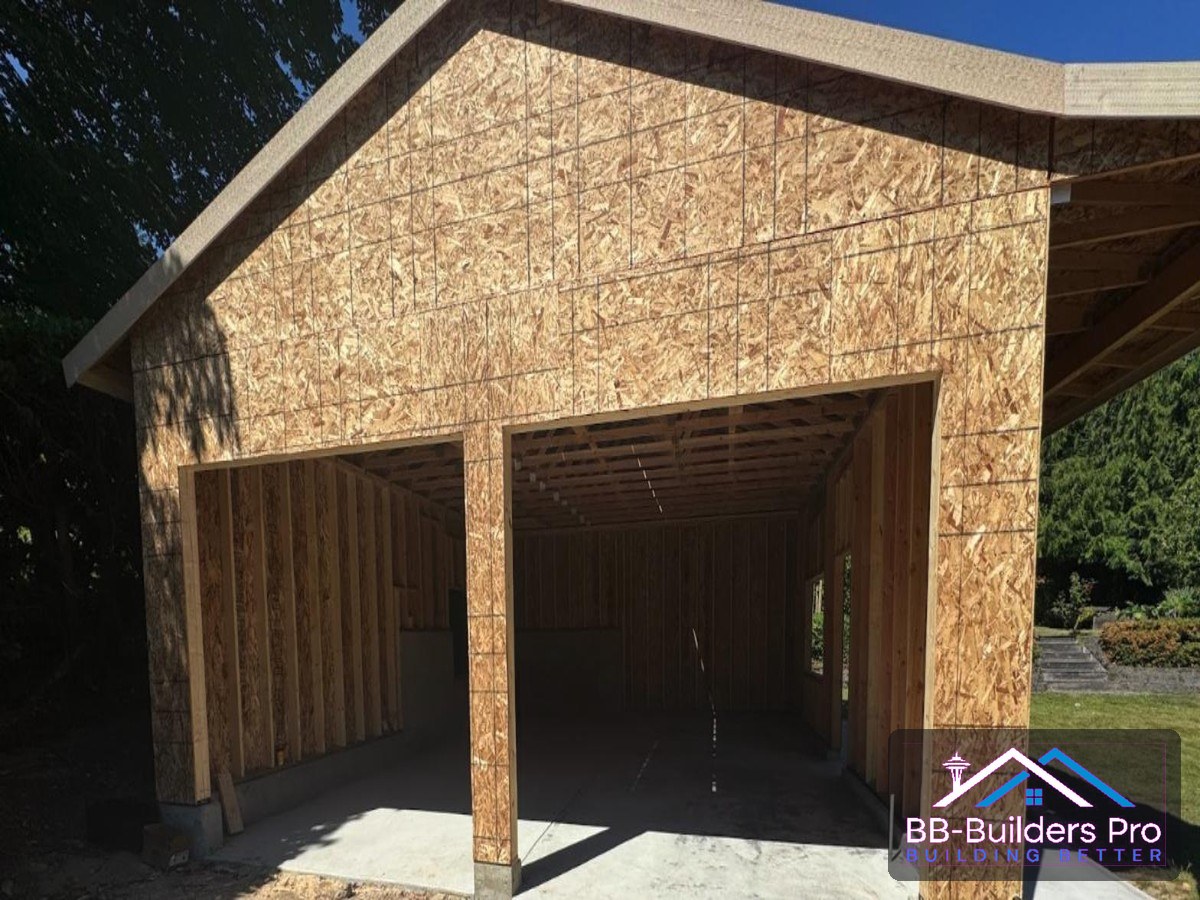
For most homes in Seattle, where standard wood-frame construction is the norm, waterproofing a bathroom shower is not optional. It is crucial to protect the underlying frame from mold, mildew, and moisture that can cause structural rot. Waterproofing is not complicated, but you’ll have to get it right the first time to avoid costly corrections. Let’s break the whole thing down into a step-by-step guide.
9 Steps to Waterproofing a Bathroom Shower
Waterproofing a bathroom shower is a straightforward process. However, one has to get it right the first time to avoid costly corrections and repairs. Here’s a structured process that you can follow to ensure a leak-free bathroom without the nasty surprises.
Step 1: Prepare the Structure

Before you start waterproofing, be sure to prepare the underlying structure. Consider the following steps:
- Sweep or brush the surfaces to keep them clear of loose debris.
- Ensure the structure is completely dry; standing water left untouched can get trapped under the waterproofing layers and damage the wood structure in the long run. The damp Pacific Northwest air can pose a challenge here, so you might need to run fans and dehumidifiers to deal with the humidity.
- Check the structure and ensure the frames are perfectly upright and the corners form 90-degree angles. No studs should be leaning, and the corners should not be slanted.
- Hammer down any protruding nails and make repairs as needed.
All this work prepares the structure for the backer board, which requires flat, straight surfaces for proper installation.
Step 2: Install the Backer Boards
Mount heavy-duty backer boards to the studs, extending the installation to the ceiling. The studs should be 16 inches on center for maximum board stability. The boards will expand with temperature changes, so be sure to leave a ⅛-inch gap between them.
Leave a ¼-inch gap between the bottom edge of the lowermost board and the floor. This prevents wicking, or the upward absorption of water from the shower pan through the board’s absorbent edge. Once everything is set, secure the boards to the studs with corrosion-resistant screws.
Step 3: Seal the Seams, Corners, and Holes
Apply alkaline-resistant mesh tape over the seams and corners where the boards meet. For the areas where screws were driven, cover each screw head with a waterproof sealant. This turns your backer boards into a continuous, seamless, airtight surface.
Step 4: Pre-Slope the Shower Pan
Make a dry mortar pack by mixing 4 or 5 parts clean sand with 1 part Portland cement and enough water to achieve a consistency similar to damp sand. It should not crumble when squeezed. At the same time, it should not leave any water on your skin.
Apply the mixture over the subfloor. Using a flat trowel or a similar tool, shape the mortar so the surface slopes gently toward the drain at ¼ inch per foot of horizontal distance. This ensures that the water flows to the drain and does not pool on the shower pan. Leave the mortar to dry for 48 to 72 hours.
Pro-tip: Use crushed stone or tile spacers around the drain’s weep holes to prevent mortar from clogging them and save time on the clean-up.
Step 5: Add the Primary Floor Liner
Once the pre-slope is completely dry, lay a waterproof sheet over the floor. This should fold at the walls, with the edges extending at least 6 inches above the floor. At the drain, secure the sheet with a specialized floor drain flange to create a seamless basin that captures errant moisture that seeps through the surface. This sheet is typically made of heavy-duty plastic, such as PVC or CPE, ensuring complete initial waterproofing.
Step 6: Apply Waterproofing

With the backer boards secured and the floor liner installed, it’s time to apply a waterproofing membrane to the splash-zone floor and walls. Use a roller to apply the solution evenly to the shower surfaces in the bathroom. Leave the membrane to dry for 48 to 72 hours to ensure it creates a tight layer ready for the tilework.
Step 7: Seal the Expansion Joints
The corners and joints where the floor and walls meet can shift considerably due to thermal expansion. Seal them with silicone caulk. This material is totally waterproof and easy to apply. More importantly, it creates a strong, flexible seal that stays in place even as the surfaces shift.
Step 8: Test For Leaks
The Seattle Department of Construction & Inspections (SDCI) requires a flood test as part of the mandatory bathroom remodel inspection. This ensures the construction’s compliance with the Seattle Plumbing Code. This tests the shower pan for leaks before you lay the first tile. Here’s how to do it:
- Plug the drain with a pneumatic balloon plug or a mechanical test plug, right below the weepholes of the clamping ring.
- Mark the fill line—which indicates the water’s maximum height during the test—with a permanent marker or a painter’s tape. This should be at the same level as the curb or shower threshold.
- Fill the shower pan with 2 inches of water.
- Observe any changes in the water level. A significant drop during the first 10 minutes indicate a serious leak that needs immediate attention. Meanwhile, a large reduction after 48 hours signal slow, seeping leaks.
- While waiting, you may check the crawlspace or the ceiling of the room below the bathroom. They will look for wet patches indicative of leaks.
- If there are no problems after the 48-hour wait, you may now remove the plug and let the water drain. Check for water trapped between the liner and the pre-slope. If there’s none, your weepholes are working.
The SDCI inspectors may issue a notice of corrections depending on their observations. You will need to address the listed issues before scheduling another inspection. If the next inspection finds no problems, you will be allowed to proceed with your project.
Step 9: Finish With a Water-Resistant Layer

The last step is to lay the tilework. Porcelain is your best tile option, but any other water-resistant alternative will do. Follow these steps to install your tiles safely:
- Clean and dry the floor and walls thoroughly. Use fans and dehumidifiers for faster results.
- Use a notched trowel to apply modified thinset mortar under the tiles and on the application surface.
- Press each tile on the floor and walls, ensuring that the mortar ridges are fully collapsed. As with the backer boards, leave a ⅛-inch gap between the tiles to allow for thermal expansion.
- Let the adhesive cure for about 24 to 48 hours.
- Once the mortar has cured, use a vacuum cleaner or brush to clear the gaps of loose debris.
- Fill the gaps with water-resistant grout or, ideally, the more resilient epoxy grout. Give the grout 48 to 72 hours to fully cure and dry.
- Let the tilework cure for another 72 hours before you can use the shower.
Waterproofing Is Key to Your Bathroom’s Longevity
Waterproofing a bathroom shower unlocks a bathroom that’s built to last. Although it’s a straightforward process, overlooking a single detail can lead to costly structural issues. Let BB-Builders Pro help you ensure your space is a dry, watertight, and mold-free sanctuary. Our team of bathroom remodeling experts specializes in navigating Seattle’s unique challenges, delivering peace of mind with the right material choices, industry-best practices, and rigorous flood testing. Call us now and get a quote.
FAQs
What is the best method to waterproof a shower?
Currently, the most effective approach is the bonded membrane method. This involves placing a flexible, waterproof barrier below the tilework. This provides effective moisture protection, ensures quick drying times for the tiles and grout, and significantly reduces the risk of mold growth and rot.
What are common shower waterproofing mistakes?
The most common mistakes when waterproofing a bathroom shower are failing to pre-slope and ignoring the ¼-inch gap between the floor and the backer boards. These can result in standing water that couldn’t drain and wall failure. Another common DIYer error is ignoring the Pacific Northwest’s humidity, which often leads to inappropriate material choices and inadequate waterproofing.
Can you waterproof over old waterproofing?
Yes, but it’s not recommended for Seattle bathrooms. Doing so could create a moisture sandwich when water gets trapped between two barriers and has nowhere to go. If the older waterproofing has already failed, this could eventually compromise the underlying structure.