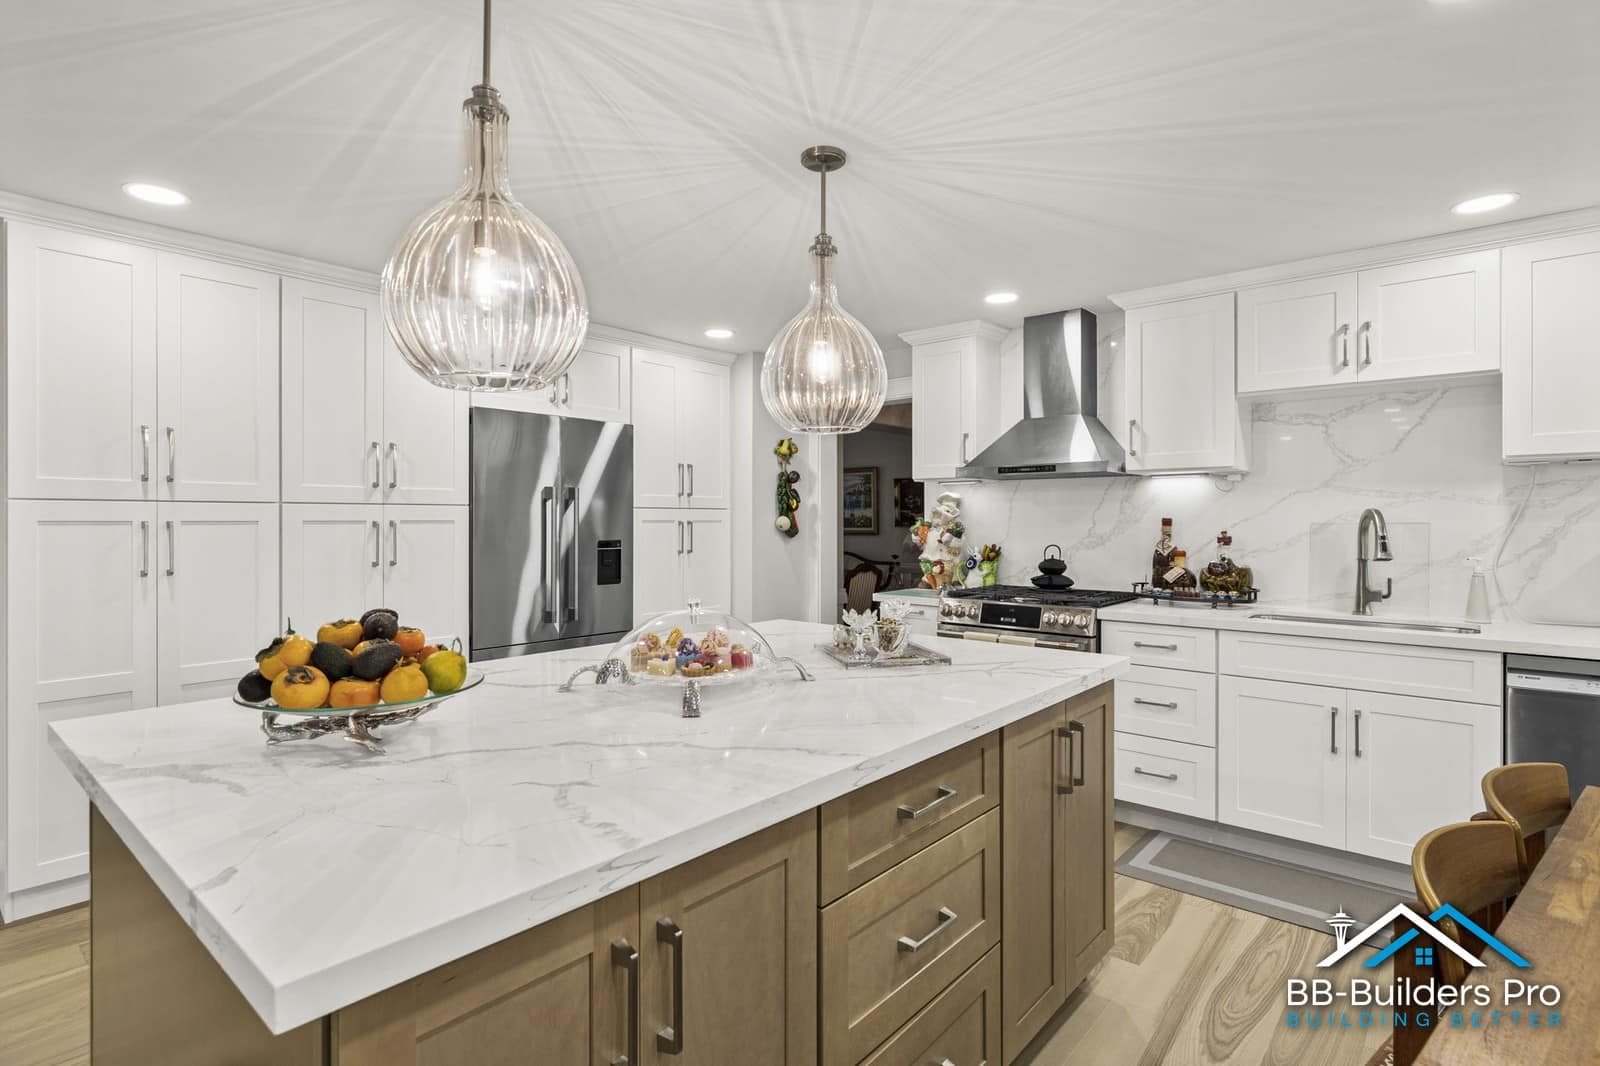
Every dream bathroom remodel is a complex project. Like other home renovation projects, it’s essential for you to have everything planned out before starting. Here’s a comprehensive bathroom remodel checklist that breaks down the entire process, helping you stay on track and well within your budget.
Things to Consider for Your Bathroom Renovation Project
Before we go over the specifics, here’s a quick overview of what you need to get your bathroom remodel in order:
- Plan and goals. Set a coherent plan based on your available resources. Match it with realistic goals that help you keep track of your progress and maintain motivation.
- Style and aesthetics. Your remodel style unifies your remodel’s design and serves as your guide to your choice of materials, decor, and fixtures.
- Logistics. This covers your remodel’s practical aspects including setting schedules, transporting materials and clean-up.
- Changes and modifications. Considering every function upgrade and cosmetic improvement helps you set realistic expectations, budget, and resource allocation.
With that all said, let’s go through everything that you need to complete your dream bathroom remodel.
Bathroom Remodel Checklist

A typical bathroom remodel is composed of five phases: conceptualization, planning, preparation, construction, and finalization. This checklist will go through each of these stages and detail all the necessary subtasks in a step-by-step manner.
Phase 1: Conceptualizing Your Vision
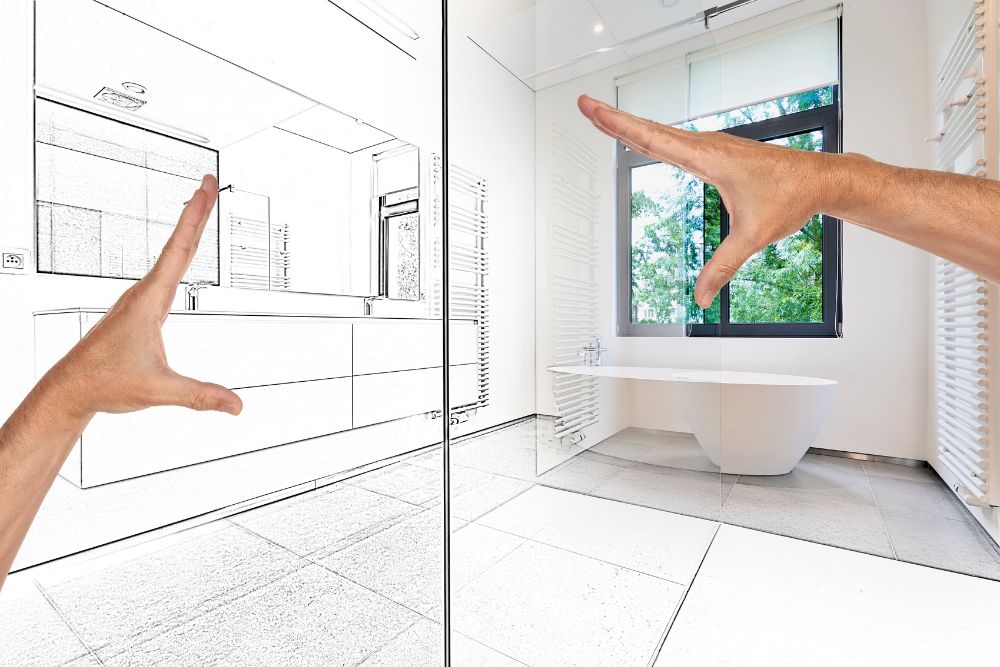
The first stage of your bathroom remodel involves consolidating your ideas for your renovation project. As you can expect, it will involve a lot of thinking and research—practically no more than ideation and setting expectations. This is your project’s foundational phase, and here’s what you need to accomplish:
- Define your requirements. Understand the requirements that your project will address and make a list defining your deliverables. Consider your specific needs and preferences.
- Determine the style of your remodel. Gather inspiration from a wide variety of visual sources, including magazines, websites, and even property showrooms, compiling them into inspiration boards. If you can, you may also draw sketches to come up with a clear vision for your remodel.
- Set your budget. Research the average costs of material and labor in and around Seattle. Identify local contractors, and do some research to find reputable ones that could deliver your requirements.
Phase 2: Drawing up Plans
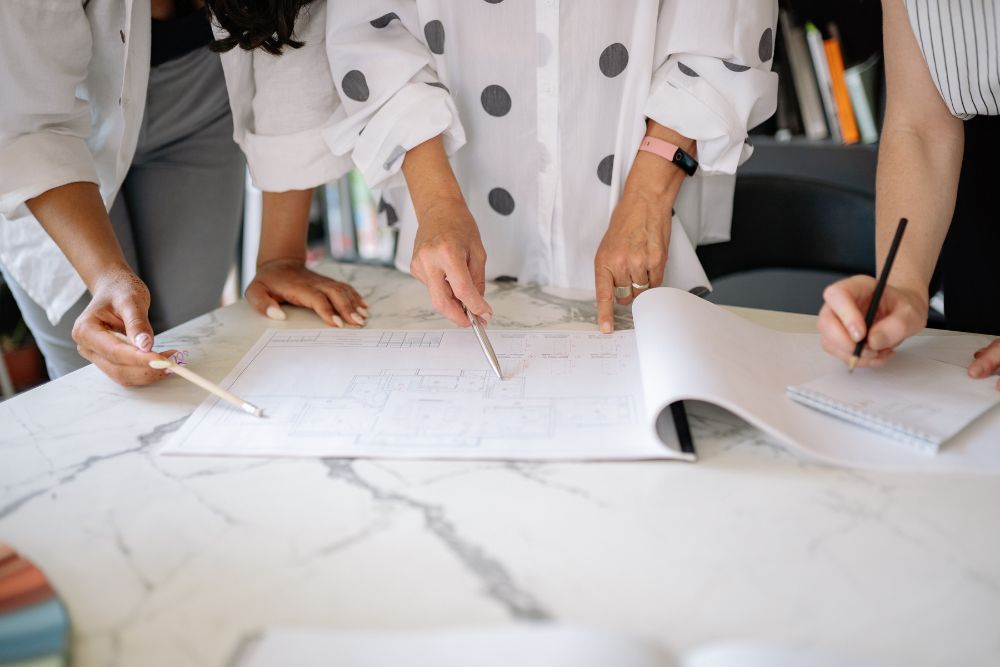
Once you’re clear on your bathroom remodel concept, it’s time to go down the literal drawing board. In this stage, you get to define how you get your remodel done.
- Take measurements. Get detailed measurements of your bathroom’s dimensions: floor area, ceiling height, and even the odd angles, to name a few. Measure the fixtures as well. These measurements will help determine the materials you need and the changes that your bathroom can accommodate.
- Choose your materials and fixtures. Select materials, fixtures, and fittings that match your vision for your remodel. Whether you’re working with a contractor or you’re going the DIY route, you may need to order these items from different suppliers in advance. Take note of the delivery times to determine when you can start the work.
- Hire a contractor (optional but recommended). It is highly recommended to talk to at least three different contractors before you hire one to work on your remodel. Obtain quotes and detailed bids that break down the expenses and provide a clear timeline. Once you’ve identified a contractor that can best deliver your requirements and initiate a transparent working relationship with them.
- Secure your permits. In Seattle, you will need a permit for major home renovation projects, especially those that involve work on the plumbing and electrical systems. You may refer to the Seattle Department of Constructions and Inspections (SDCI) website to know the permit you’ll need based on the scope of your bathroom remodel.
Phase 3: Preparing for the Construction
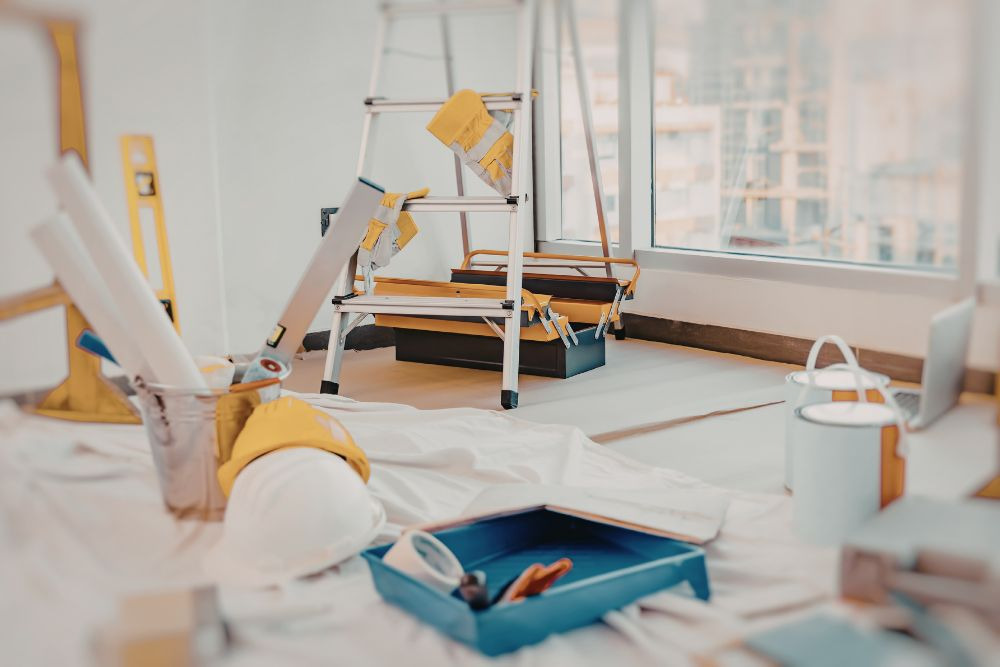
This is the part where you officially start with your remodel. You’re basically laying the groundwork for your remodel, preparing your bathroom and home for the upcoming transformation. Here’s what you’ll need to do in this phase:
- Prepare an alternative bathroom. If you only have one bathroom, consider setting up an alternative to prevent disruptions to your daily routine.
- Demolish the existing bathroom. Here are some steps to ensure that your bathroom demolition is done safely, efficiently, and without causing any major disruption to the rest of your home:
- Remove the old fixtures for disposal or temporary safekeeping.
- Seal off the bathroom opening with a sheet of plastic to keep dust and debris from blowing into the adjacent areas.
- Cover the floors and furniture in the surrounding areas to protect them from stray debris.
- Remove the tiles on the floor and walls and break down the dry walls, if there are any.
- Strip the paint, if you’re repainting.
- Gather the debris and carefully move it outside the house.
- Clean the area of any remaining dust to prepare for the construction.
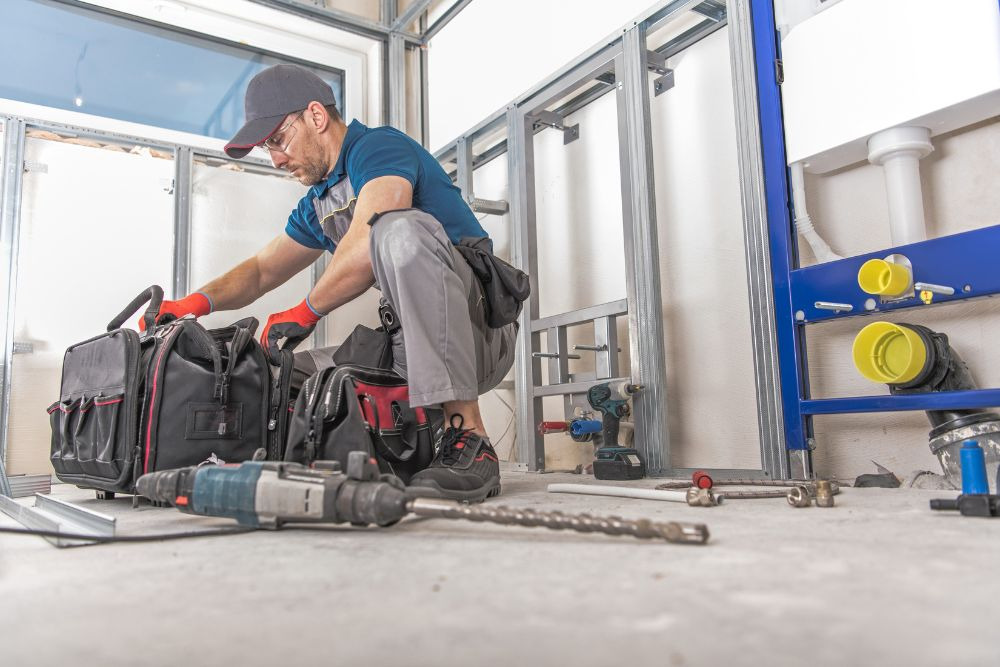
- Install plumbing and electrical rough-ins. You will need plumbing rough-ins to accommodate the drainpipes and water supply lines for your new fixtures. If you need to modify the electrical network, be sure to rough in wiring for your new electrical installations.
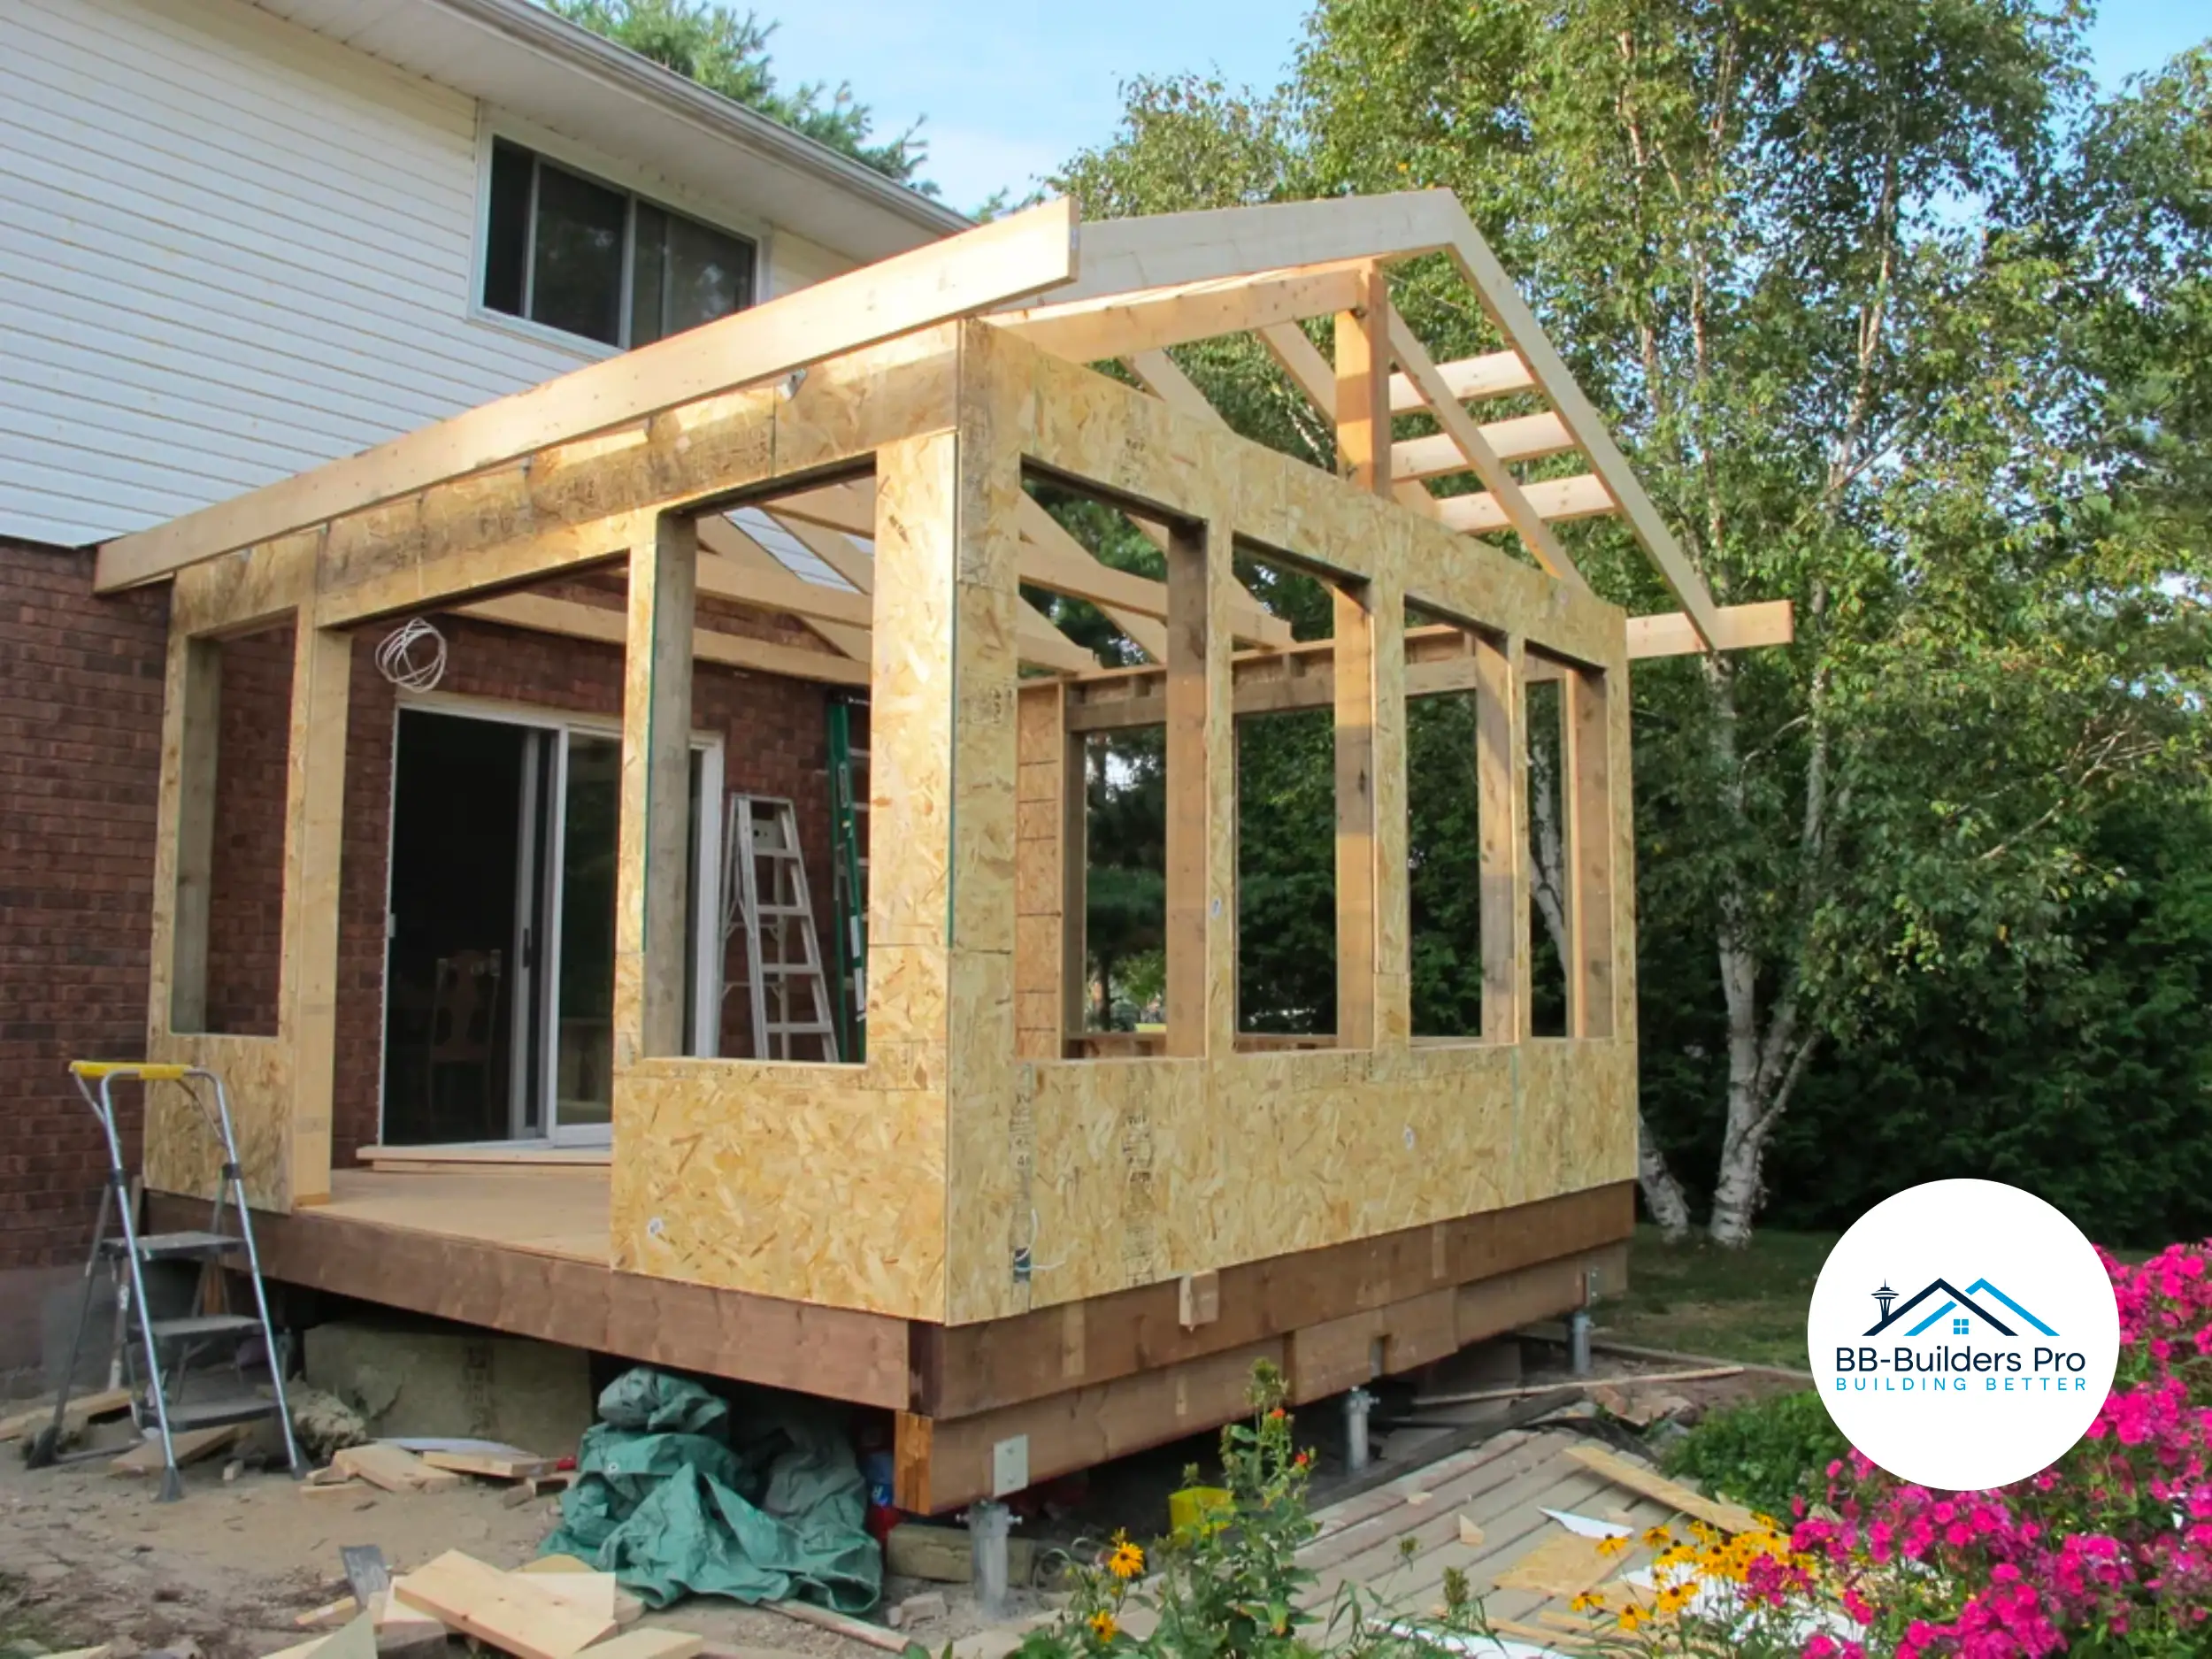
- Install or modify framing (optional). You’ll have to set up new framing if you’re looking to modify the existing structure of your bathroom. This is necessary if you need to move the walls, add a shower niche, or expand the entrance, among others.
- Install or modify insulation (optional). Most Seattle bathrooms are built with insulation in mind. However, you may need to update your bathroom’s insulation if you’re looking to improve your bathroom’s energy efficiency and soundproofing.
Phase 4: The Actual Bathroom Remodel Work
Now to the fun part: bringing all that prep work together. It’s not easy by any means, but it should not be complicated if you know where to begin.
- Start below the surface. Begin by installing a subfloor to level your new flooring. For the tiled areas of your wall, you will need to install moisture-resistant drywall or cement backer. Seal the seams on your drywall and subfloor to keep moisture from seeping through. If you’re repainting your bathroom, be sure to apply primer to where you’re adding a new coat of paint.
- Install the new tiles. Apply tile adhesive to the surface before laying out your tiles. Start with the floor, then the shower area, and end with the walls. Once the tiles have set, apply grout to the joints to seal the moisture out.
- Repaint. Start painting the ceiling. Move on to the walls and other surfaces that need painting in a top-to-bottom order.
- Install the new fixtures. Start with fixtures that require the most work, such as the bathtub, vanity, and toilet. Minor replacements, such as the lights and faucets, come right after. Apply caulk around fixtures and in seams that may come in contact with water to keep moisture from seeping into walls, floors, and furniture.
- Install the decor and accessories. Install the necessary fittings and hang accessories such as your mirrors, paper towel holders, and decorative elements.
- Finalize the electrical and plumbing connections. This requires licensed Seattle plumbers and electricians. They will make the final connections and make the necessary tests to make sure everything works in proper order.
Phase 5: The Final Steps
Now that your bathroom remodel is finished, it’s time to tie up some loose ends. Here’s what you need to do to conclude the renovation:
- Clean up. The installation and finishes should leave some dust and debris, so a cleanup should be in order. Take time to wipe the surfaces, especially the tiles, fixtures, and glass.
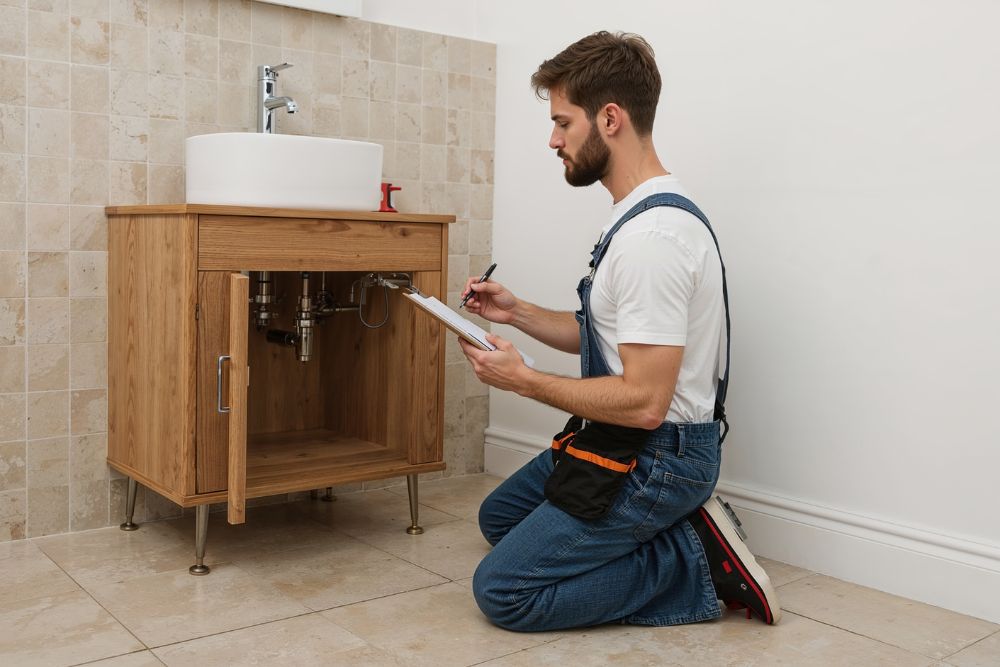
- Final inspection and payment. Take a final look at your renovated bathroom with your contractor. Inspect the work thoroughly and test the electrical systems and plumbing. This should help you identify areas that may need last-minute adjustments. Once you’re satisfied with the work, it’s time to finalize the payment for your contractor and close the contract.
DIY Route Vs. Hiring a Contractor
As bathroom remodeling doesn’t come cheap, many homeowners are tempted to work on the project on their own. This certainly is doable, to a certain degree. If your concern is all about bathroom design and aesthetics, going DIY is certainly a feasible option.
However, if you intend to give your space a full overhaul, you may need to hire a contractor to get the whole thing done. They should have the right talent in-house, including licensed Seattle plumbers and electricians. Additionally, they take care of the intricate permitting process and can work well within the city’s strict building codes.
Final Thoughts and Summary
This checklist should help you confidently navigate the intricacies of a bathroom remodel. Follow this guide for a carefully planned and masterfully executed remodel that you will enjoy for years to come. Better yet, get the help of experienced, professional bathroom remodeling experts. Give us a call today.