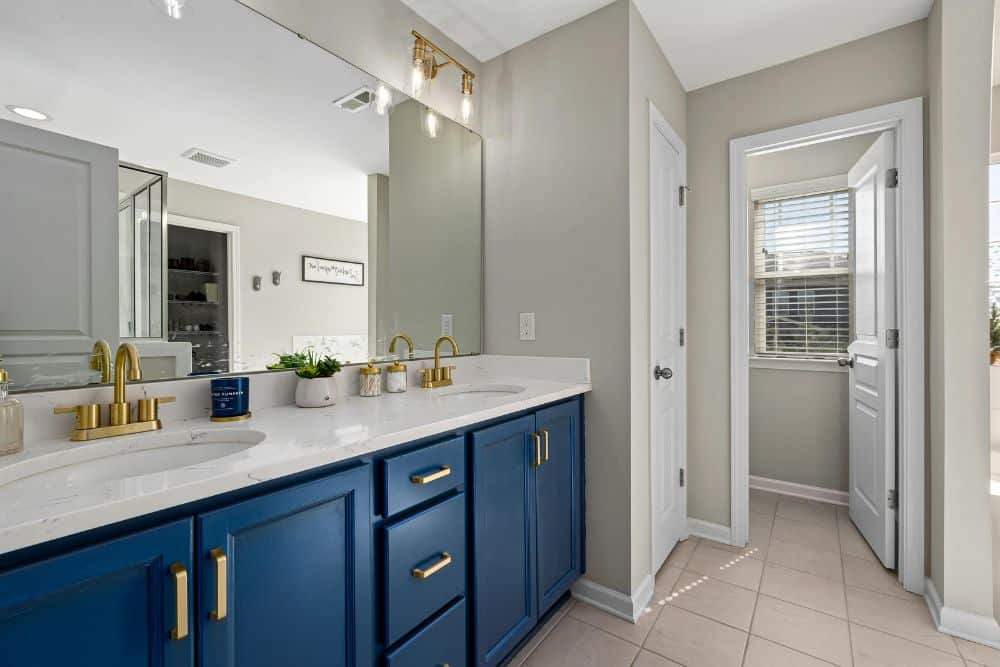
Freestanding tubs are an increasingly popular fixture in Seattle bathrooms. As they aren’t attached to the walls, mounted on decks, or built into alcoves, they stand out as artful centerpieces that add an air of luxury to the space. Installing one is straightforward, although you may have to do some literal and figurative heavy lifting during the preparation phase.
In this guide, we will talk about how to install a freestanding tub. You will learn how to turn your bathroom into a luxurious spa with this trick.
How to Install a Freestanding Tub: A Step-by-Step Guide

Installing a freestanding tub is a two-stage process. The first part is pre-installation, which requires most of the muscle work. From there, installing your shiny new freestanding tub is straightforward, though it has a low tolerance for error.
Pre-Installation

During the pre-installation process, you make your bathroom floor and plumbing ready for your freestanding tub. This may be the most complicated stage, so prepare for some floor and plumbing rework.
1. Check your flooring.
A stone or cast-iron freestanding tub can weigh about 400 pounds on the lower end—and that’s before it’s filled with 80 gallons of water and used by a human adult. To prepare your floor for heavy loads, check the joists to ensure they can support the weight. Here’s a handy table for your reference:
| Feature | Ideal | Risky | Reason |
| Joist size | 2×10 or 2×12 | 2×6 or 2×8 | Taller boards can better resist bending than their shorter counterparts |
| Maximum span | 10-12 feet or less | Over 14 feet | The shorter the wall-to-wall measurement, the firmer and stronger the floor |
| Maximum spacing | 16 inches on center (OC) | 24” OC | The closer the spacing, the better the tub’s weight distribution |
| Condition | Solid and uncut | Drilled, notched, or rotted | Holes can compromise the strength of the wood, making it act like perforated paper |
| Floor flex | Firm, solid surface | Bouncy and feels like a trampoline | Shaky floors could sag when the tub is full |
You will need to reinforce your floor if it checks some or all of the “risky” criteria. You may consider at least one of these options:
- Sistering. Bolt a second identical joist next to the existing one to increase the floor strength.
- Blocking. Install fitting, perpendicular pieces of wood between joists to keep them from deforming under pressure.
- Subfloor reinforcement. Add a second layer of ¾-inch exterior-grade plywood to improve the weight distribution across the boards. This also keeps your tiles from cracking under the bathtub’s load.
2. Select the faucet type.
Your choice of a faucet lets you know where the plumbing lines need to rise from the wall or floor. Here are three common options:
- Floor-mounted faucet. Its plumbing lines come up through the floor, providing a luxurious aesthetic. On the flipside, it requires precise installation, making it difficult to place.
- Wall-mounted faucet. This is a great choice if you need to conceal the plumbing. However, you will need to get your tub close to the wall, limiting your placement options.
- Deck-mounted faucet. If your bathtub has a wide rim and a predrilled hole that can accommodate a faucet, this is an excellent choice. It practically hides the plumbing and connections, giving your tub a smooth, minimalist look.
3. Rough-in plumbing.
Locate the drain hole and installing the P-trap and drain pipe on the exact spot where the tub’s waste outlet will sit. Next, run your hot and cold water lines to your faucet, following the requirements of its spec sheet. Lastly, ensure that the tub’s built-in overflow connects securely to the drain line—this will keep your bathroom from flooding in case you forgot to turn off the faucet.
4. Dry fit.
Bring the freestanding tub to your chosen location in the bathroom. Mark the perimeter and trace the drain hole on the floor. Create clearance around the tub so you can walk around it and be able to clean the space behind it. Ensure that the faucet spout reaches the tub’s rim and no water falls on the floor.
Installation

Now that you’ve reinforced the floors and set the pipes, here’s how to install a freestanding tub:
1. Install the drain kit.
Attach the main drain assembly and overflow cover to the tub. Seal the gap between the drain flange and tub surface with rubber gaskets or stain-free plumber’s putty. Next, attach a tailpiece of the right length for your floor-to-drain setup.
2. Install the faucet.
Install the faucet before you install the tub, as it’s easier with the tub still out of the way. Secure the faucet to the mounting surface, then attach the supply lines to the faucet inlets. Wrap the faucet in a protective material to ensure it’s not scratched as you install the tub.
3. Prepare the tub.
Protect your floor with a thick blanket or cardboard, then tilt or flip the tub to access the bottom. Adjust the leveling feet to the appropriate starting height. Before proceeding to the next step, use rubbing alcohol to clean the bottom rim of the tub so the sealant will stick later.
4. Position and level.
Carefully set the tub into position, making sure that the tailpiece aligns with the drain hole. Use a level to ensure the tub is perfectly horizontal across its length and width. Stop any wobbling by adjusting the leveling feet.
5. Test for leaks
Run the following tests to check for leaks and drainage and flow issues:
- Supply test. Turn on the water and check every connection for leaks.
- Drain test. Fill the tub with water up to 4 to 6 inches, then pull the plug to see if it drains properly.
- Overflow test. Fill the tub all the way to the top to ensure the overflow assembly works.
- Hot water test. Rerun the above tests with the hot water turned on. The seals expand with hot temperatures, revealing leaks you might not find in colder conditions.
Fix any leak and drainage issue by taking apart the assembly and repairing or replacing the mechanical seal.
6. Finalize the sealing.
As soon as you are completely sure the floor is dry and the pipes are tight, run a bead of 100% silicone caulk around the tub’s base. Smooth it out using your finger or caulking tool. Let the seal cure for at least 24 hours before you start using your freestanding bathtub.
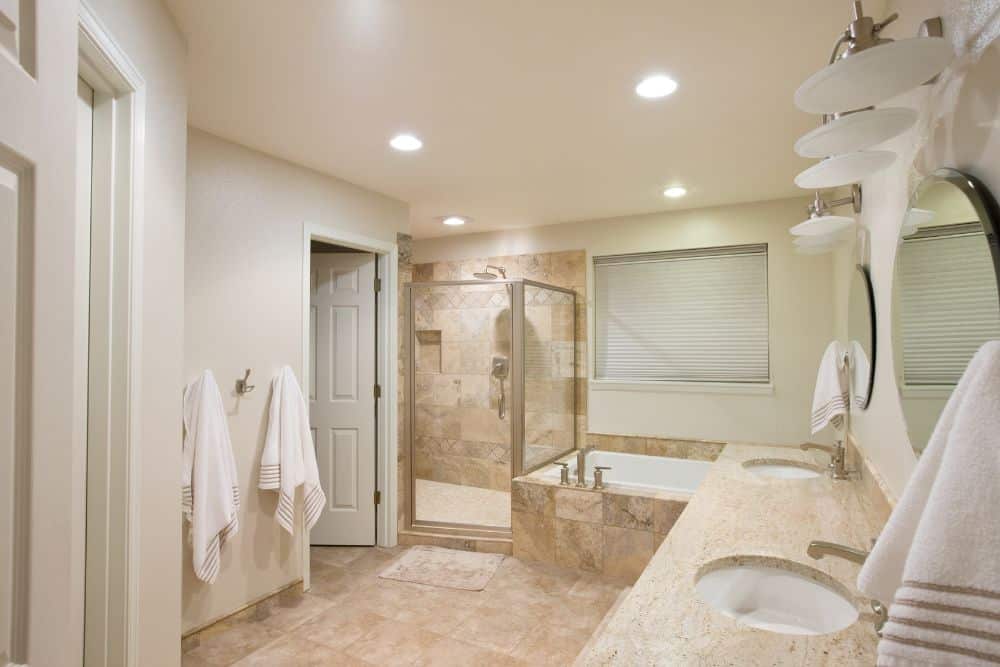
Freestanding Tubs Popular In Seattle Remodels
In Seattle, bathrooms are a sanctuary to retreat to, especially during dark, rainy months when it’s impractical to go outside. The following freestanding tubs prove especially popular in providing that spa-like experience:
Oval Freestanding Tubs

Oval is practically the default freestanding tub shape, giving it a minimalist, symmetrical design. The rounded shape softens the bathroom’s look and allows for a comfortable recline.
Modern Clawfoot Tubs

Clawfoots are a nod to Seattle’s Victorian roots. The popular modern versions feature sleek matte black or brushed nickel “feet” that lifts the tub off the floor. The uplift shows the floor beneath, creating an illusion of more space.
Ofuro

Also known as the Japanese soaking tub, the ofuro is a round, short tub that is significantly deeper than its Western-style counterparts. Traditionally made of treated wood, the ofuro also has modern ceramic iterations. The depth allows for a relaxing, deep soak with the bather sitting upright.
Back-to-Wall Freestanding Tub

One of this tub’s sides sits flush against the wall, while the rest are freestanding. It is easier to install than other designs as it can use the readily available wall-mounted faucet. The lack of a maintenance gap is a plus, as it makes the area around the tub easier to clean.
Final Thoughts
Installing a freestanding tub may require a lot of musclework, but the process is actually very straightforward. It can take some work and precision, though, so you might want to leave the work to a bathroom remodeling professional. A little investment goes a long way toward getting you that spa-like experience, apt for everyday Seattle life.
FAQs
Are freestanding tubs easy to install?
Yes, they are compared to building a custom alcove or deck tub. They don’t require complex framing or tiling, and the installation is fast, straightforward, and versatile. However, the rough-in requires precision and is the most difficult part of the process.
What to put under a freestanding tub?
Ceramic or porcelain tiles are the best flooring option to install under freestanding tubs. They provide a level, waterproof surface ideal for the tub to sit on.
What are the downsides of a freestanding bath?
Freestanding baths have the following drawbacks:
- The tub is expensive, and the plumbing work may cost you extra.
- There is no ledge for storage.
- Dust and debris can accumulate around the tub and in the narrow gaps, complicating cleaning and maintenance.
- Freestanding tubs can be very heavy and will almost always require structural reinforcement prior to the installation.
What to put behind a freestanding tub?
You will need to put moisture-resistant materials behind the tub. Popular choices include porcelain slabs and waterproofed wall panels.