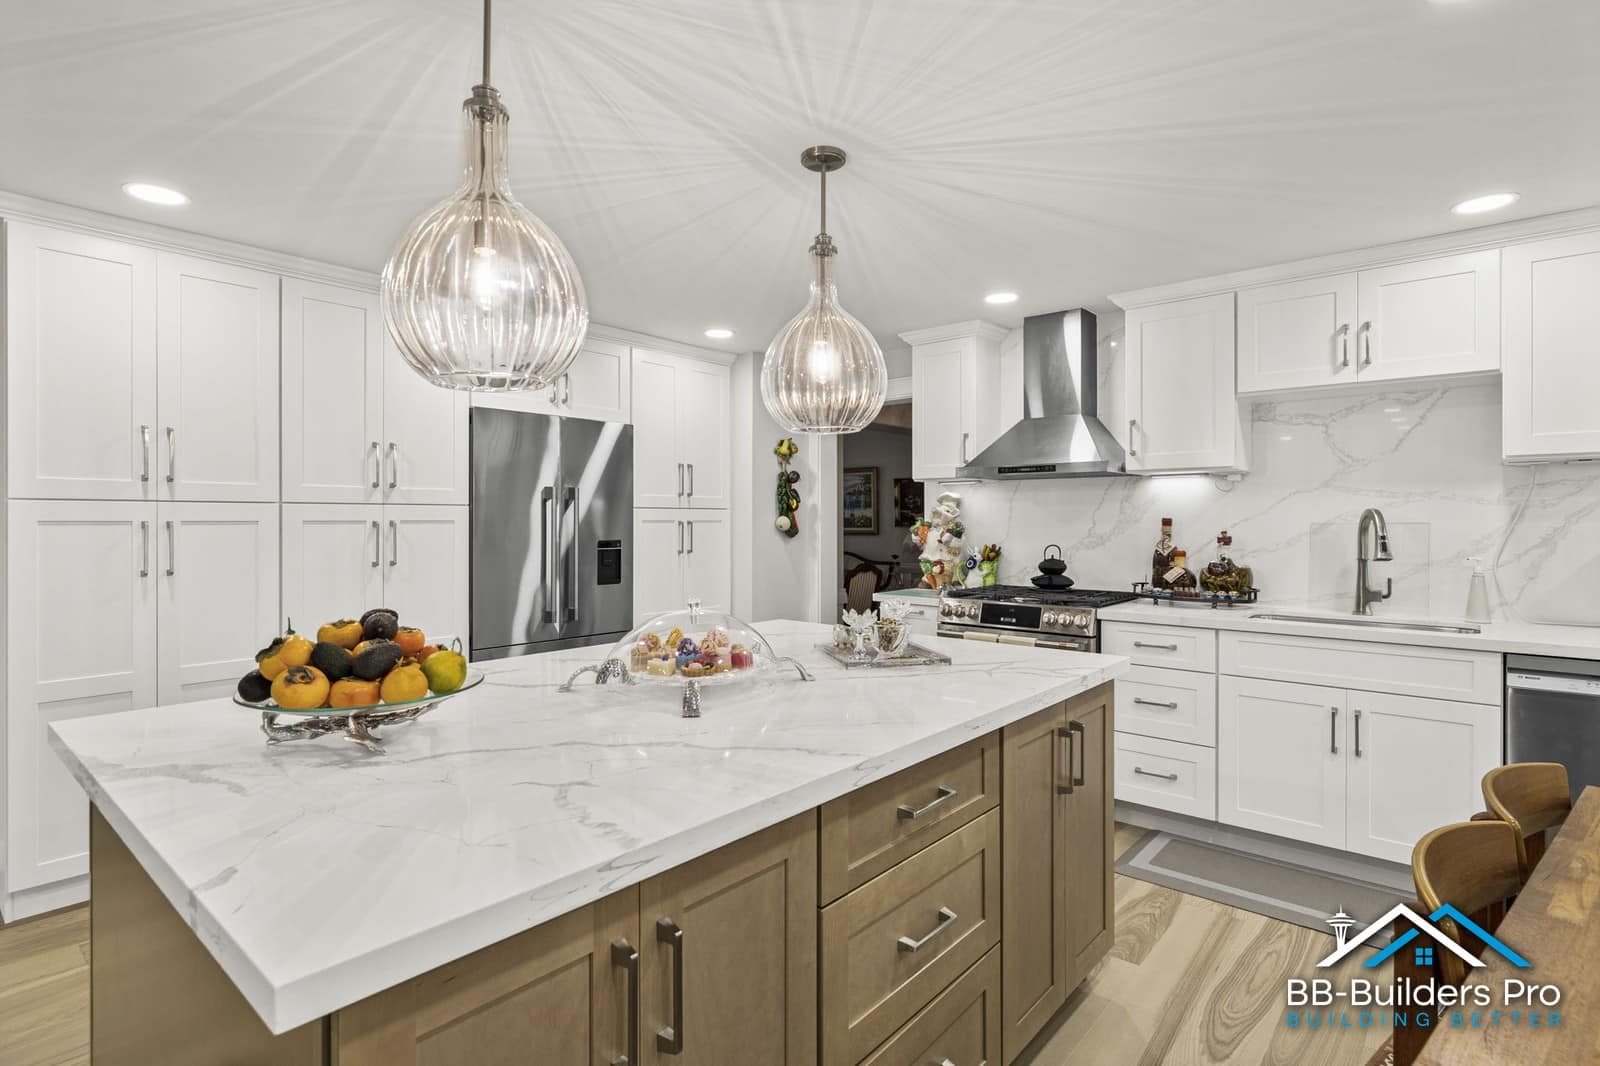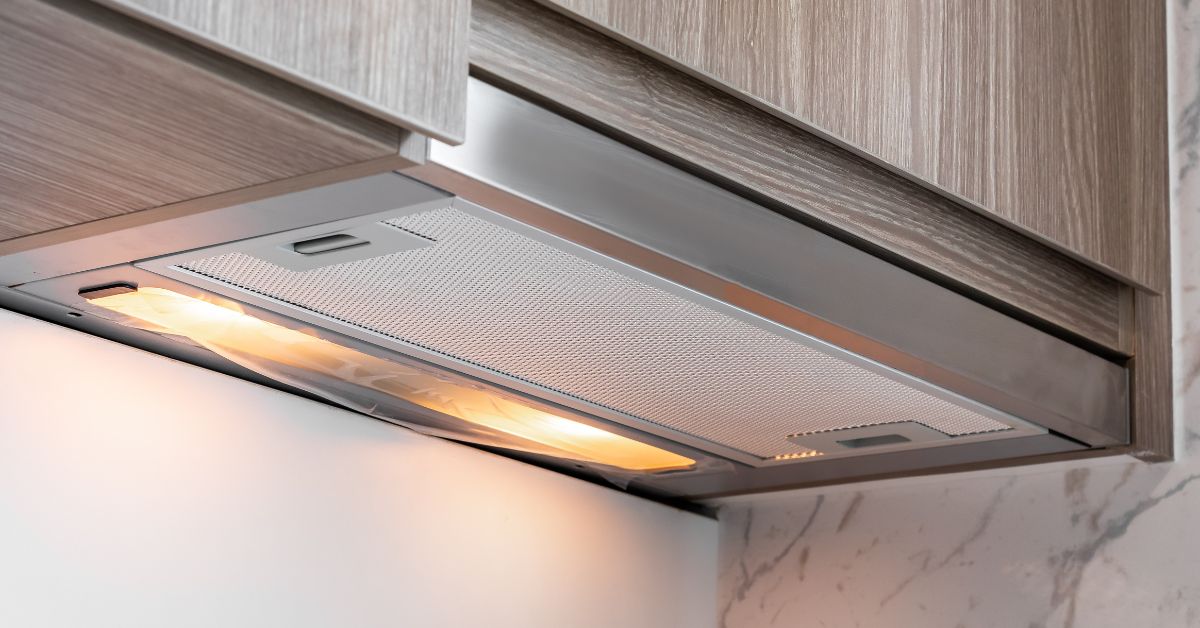
Kitchen ventilation is a non-negotiable requirement for homes in Edmonds, WA. Understandably, installing one can be quite daunting. Balancing local building codes with technical ductwork, for one, can pose a challenge, while picking the right vent hood might as well be its own quest. Let’s discuss everything about kitchen vent hood installation Edmonds residents should follow, from mounting to testing, and when they need to call a professional.
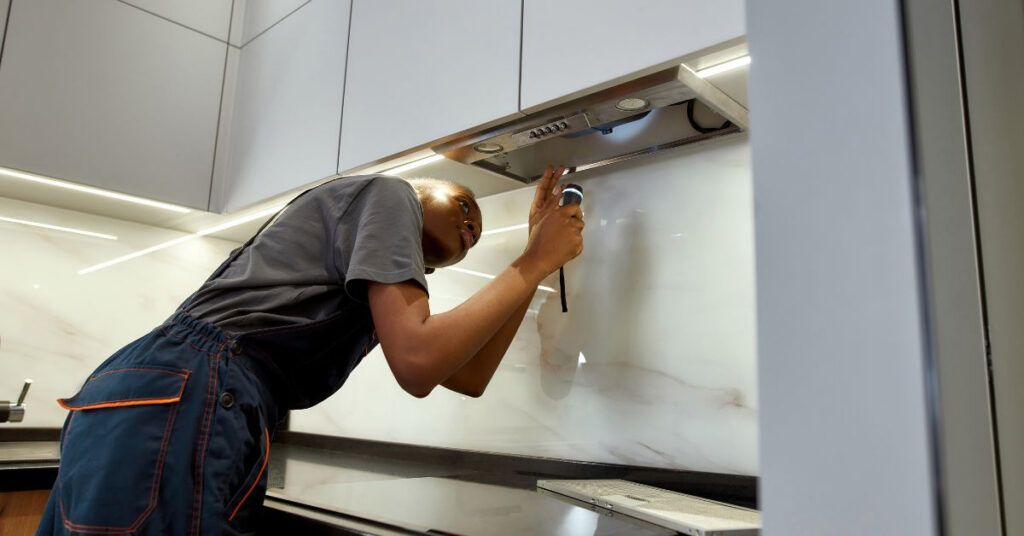
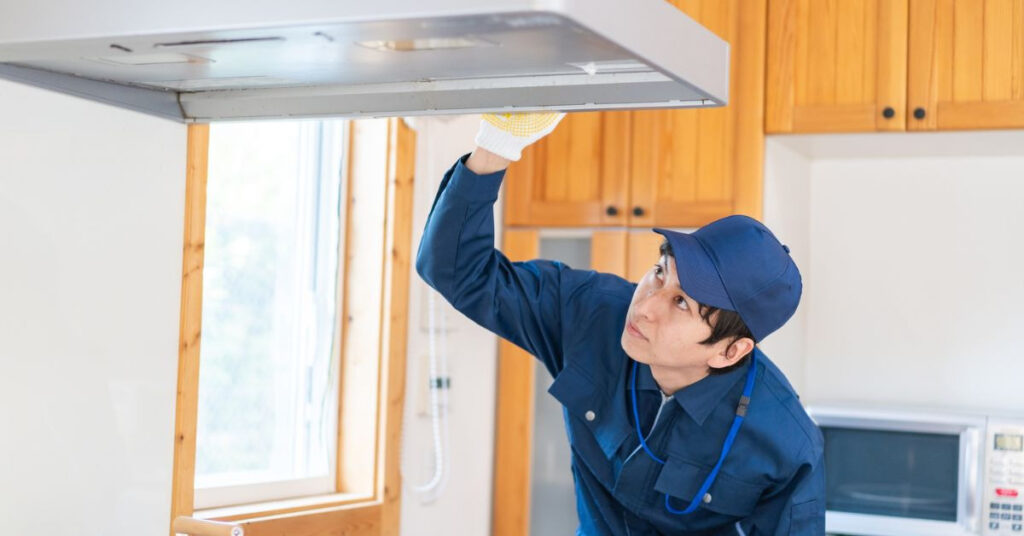
Step-by-Step DIY Kitchen Vent Hood Installation
Before performing a kitchen vent hood installation Edmonds homeowners need to take note of the fan’s size, make, and model to ensure compliance with the WRC. They should also review the existing ductwork to see if they need to add further ducting to accommodate the fan. Doing so will help them address complications that may prove costly during the city’s mechanical inspections. Once this is out of the way, here are the general installation steps to follow:
- Turn off the power. Locate the breaker for the dedicated circuit where your fan should connect. Switch it off to ensure safety during installation.
- Measure the fan and mark the installation area. Measure the height of your fan and verify the vertical clearance between the cooktop and the vent hood bottom to comply with the WRC. To ensure proper alignment, find the range center and use a pencil to draw a vertical plumb line from that point to the ceiling. Use a stud finder to locate and mark the wall studs within the installation zone. This ensures the hood is securely anchored to the house’s frame instead of just the drywall.
- Cut a hole for the ducting. Once you’ve marked the installation area, you’ll need to create an opening for the exhaust path, in compliance with WRC. Trace the exact diameter of the duct using the measurements provided by the manufacturer on the wall or ceiling—or wherever you can conveniently connect to the house ductwork. Use a reciprocating saw or a hole saw to cut the hole. The exterior vent should terminate at least 3 feet from any property lines, windows, or doors to keep the reentry of exhaust gases into the building.
- Work on the exterior vent. Using the pilot hole you drilled from the inside as a guide, move to your house’s exterior to cut the finish siding. The opening should be slightly bigger than your ducting. As most Edmonds homes use lap siding with angled boards, use a mounting block to provide a secure, flat surface for the vent hood installation. Secure the exterior vent cap to the mounting block using high-quality exterior sealant to ensure a waterproof seal.
- Mount the vent hood. Get a partner to help lift the vent hood as needed. Follow the measurements from your centerpoint marking and secure it using manufacturer-provided screws. These should be driven into the wall studs.
- Connect the hood to the ductwork. Once secured, bridge the gap between the vent hood and the exterior vent cap to create an airtight exhaust path. Seal the joints and seams with UL 181-rated foil tape or mastic sealant.
- Test the vent hood. Plug your vent hood into the outlet connected to its dedicated wiring. Switch the breaker back on, turn on the appliance, and check if the fan and lights are working correctly.
Can I Install a Vent Hood Myself?

You can install a kitchen vent hood yourself. However, you need to be aware of a few regulatory requirements before you can start with the work. As vent hoods are part of your home’s life and environmental system, you will need to apply for a mechanical permit from MyBuildingPermit.com. Additionally, vent hoods require dedicated wiring, so if you still need to install one, you will also need to get an Electrical Permit. Note that while you can do this on your own, any hired help should be a licensed electrician.
The installation should also comply with the 2021 Washington State Residential Code (WRC). This states that the vent hood fan should be at least 30 inches above the cooktop and provide at least 100 cubic feet per minute (CFM) of airflow and sets the makeup air threshold at 400 CFM or higher. Crossing this threshold means you will be required to install a makeup air (MUA) system, which prevents dangerous backdraft by automatically bringing in fresh air to replace the air being sucked out. In addition to airflow requirements, the 2021 code limits fan noise to 3 sones.
When and How to Hire a Kitchen Vent Hood Installation Edmonds Professional
Although you can DIY a vent hood installation, there are times when you need to hire a professional. Here are some scenarios where you’ll need to get the pros involved:
- The installation needs new electrical wiring.
- The ductwork requires extensive structural modification.
- The hood is too heavy or has a structural installation.
- Installing your vent hood requires cutting through masonry.
- You need to install an MUA system.
Washington State is home to several contractors specializing in installing HVAC systems, including kitchen vent hoods. Here’s how you can find the right one for the job:
- Find and vet local contractors. Identify companies specialized in HVAC installation, ask for their license, and review their recent work.
- Verify the license and credentials. Use the Washington State Department of Labor & Industries (L&I) web portal to verify if your prospective contractor has an active registration, an active and paid-to-date workers’ compensation account, and no major lawsuits against their security bond.
- Get a quote. Typical vent hood replacement costs range from $300 to $850, while new installation—including electrical and ductwork—starts at $650 on the average.
When in doubt, you should engage a professional kitchen remodeling company instead. They should have the skill, experience, and credentials necessary to perform your kitchen vent hood installation in compliance with Edmonds’ building codes.
Final Thoughts
Installing a kitchen vent hood in Edmonds is not necessarily complicated. Let this guide serve as your roadmap to ensuring high-end kitchen performance in line with the standards set by the WRC. Whether you choose to tackle this as a DIY project or partner with a local expert like BB-Builders Pro, proper ventilation is one of the best investments you can make in your home’s longevity and indoor air quality. Call us today for expert help with your kitchen vent installation needs.