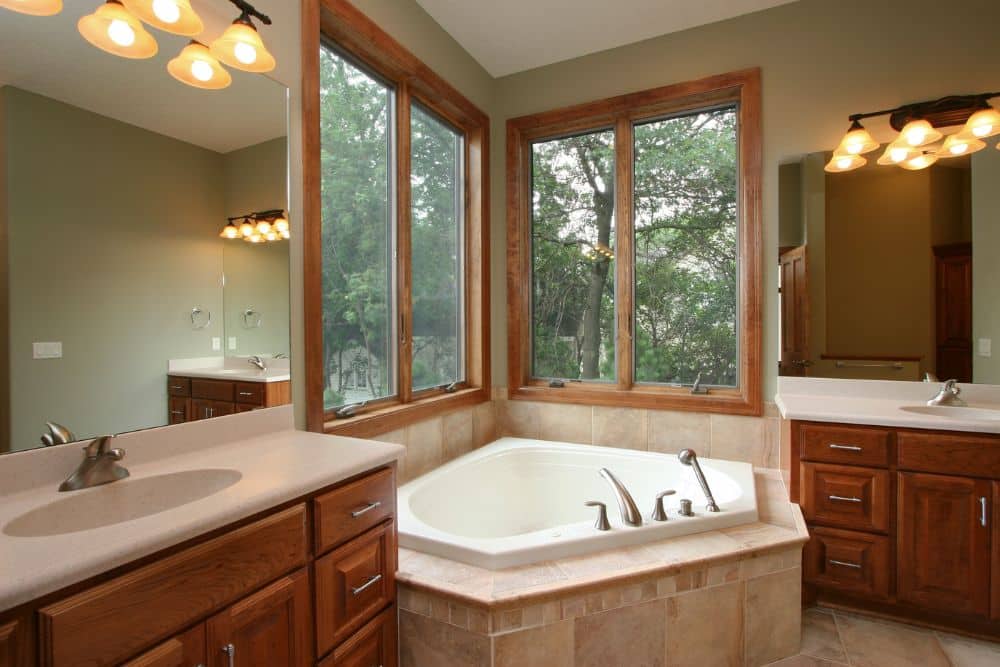
Sagging kitchen floors are a sign of underlying structural and material damage. In Edmonds, excessive moisture is usually the culprit. The area’s wood-construction homes are especially vulnerable, thanks mainly to the damp, rainy Puget Sound climate. Occasionally, though, structural issues are to blame.
Regardless of the reason, noticeable sagging in the kitchen floor should be addressed urgently for residents’ safety. That said, let’s discuss everything about sagging kitchen floor repair Edmonds residents should know, including actionable DIY steps and how much it all costs.
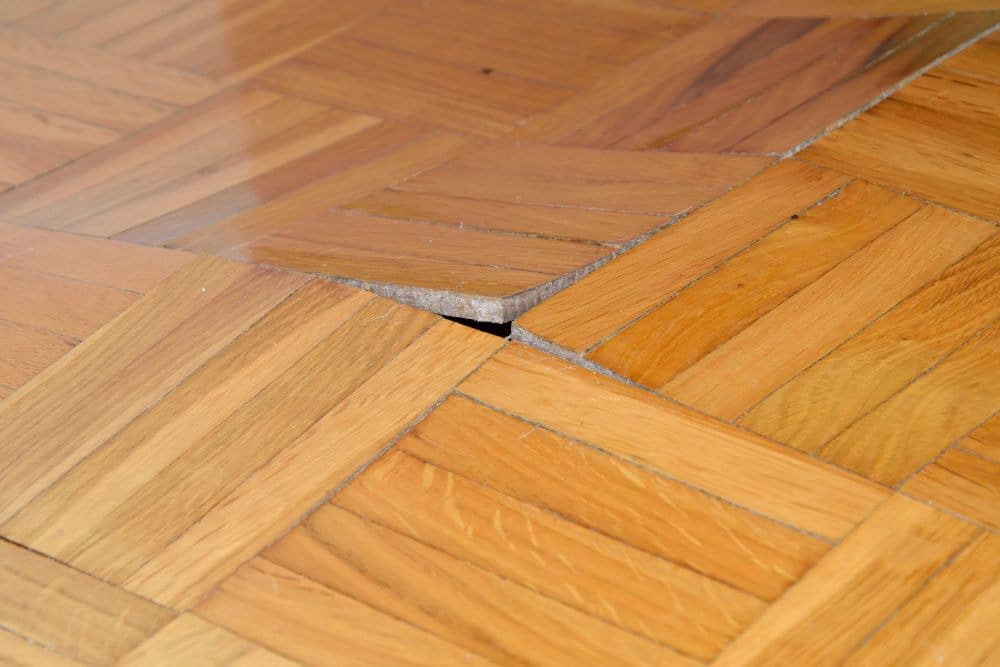
Why Is My Kitchen Floor Dipping?
There are three possible reasons why your kitchen floor is sagging:
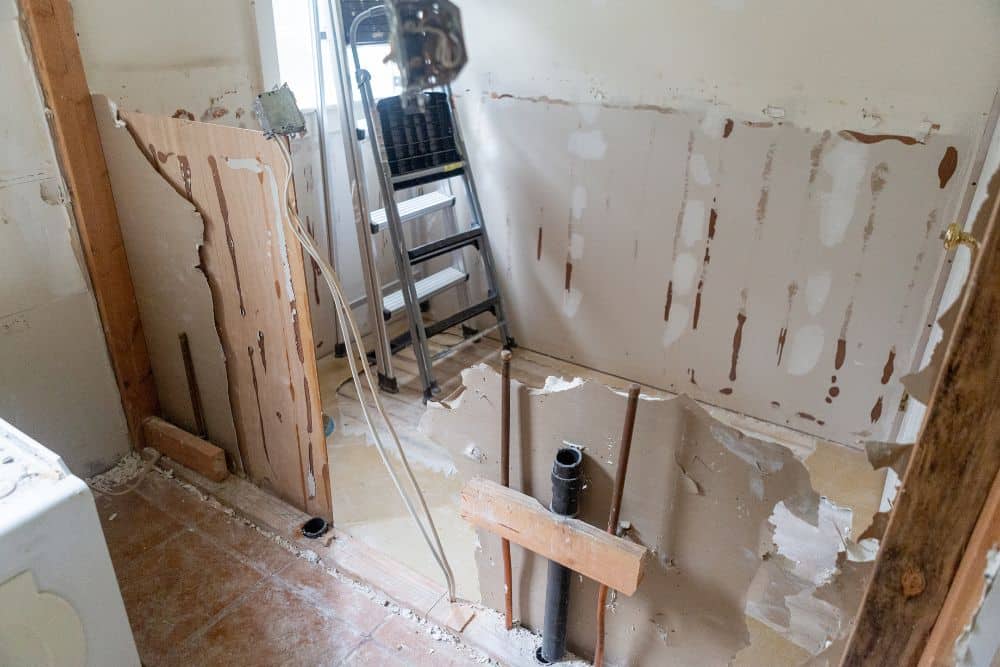
- Water damage. Excessive moisture buildup can cause the boards and joists to become soft, weak, and unable to sufficiently withstand the weight of day-to-day use. Left unchecked, moisture encourages mold growth, causing the wood to decay. In the worst cases, the presence of water in the structure attracts destructive insects like termites, causing severe damage that could spread to different parts of your house.
- Structural issues. Your floor joists may have structural problems that keep them from adequately supporting the boards, causing the kitchen floor to sag. In older homes in Edmonds, this is often because the beams are not up to code and are spaced too far apart. The structural issues may also be caused by damage to the joists, likely due to insect damage or improper repair.
- Foundation issues. Your home’s foundation could settle unevenly if the soil is shifting. Improper compaction could be the cause here, and the rainy Edmonds climate could make things worse. When settling occurs under the kitchen area, it can cause your kitchen floor to dip.
3-Step Sagging Kitchen Floor Repair Edmonds Residents Should Follow

A sagging kitchen floor is unsafe and out of the ordinary. Once you have spotted or felt the dip, temporarily put your kitchen out of commission and immediately initiate the repair work. Now, don’t you just blindly yank the boards out and figure out what to do after; here’s a proven step-by-step process that you can follow:
1. Identify and fix the root cause.
Look for any active leaks under the sink or along the kitchen plumbing, as this is usually what causes the water damage. If the pipes are leaking, temporarily seal the leaks with epoxy and call a licensed plumber to apply a long-term fix.
Sometimes, the moisture causing the sag has accumulated in the crawl space—a likely occurrence given Edmonds’ damp Pacific Northwest climate. To address this, you may either update the grading to divert the water away from the foundation or install a vapor barrier to improve the crawl space ventilation.
For sagging caused by damage from pests, like termites and carpenter ants, you may need to employ the help of a pest exterminator. Termites can especially quickly spread to multiple parts of your house’s frame, and dealing with the kitchen infestation will not solve the problem. The critters will have to go before you proceed with the repairs.
2. Reinforce the structure.
Sagging in your kitchen floor is often caused by damage or misalignment in the support structure. There are three ways to fix this, depending on the type and severity of the problem.
Sistering the floor joists
This applies best to joists that have rotted due to moisture or have cracked from impact or a prior human activity. Follow these steps to properly sister your damaged joists:
- Use a hydraulic jack to level the sagging joist and support the section for repairs.
- Cut new wood to serve as a sistered joist. It needs to be of the same length as the original, damaged beam.
- Apply wood adhesive to the surface of the sistered joist and the original. Position the beams tightly, then secure them with carriage bolts every 12 to 16 inches of the sistered joist’s length.
- Check for improper attachment to the adjacent joists. You may need to replace or reinforce the hangers to accommodate the increased weight.
Joist replacement
Severely damaged joists will need replacement. Replacing the joists is no easy task, but here’s a quick guide to help you start on the right track:
- Shore up the floor above the joists to keep it from collapsing during repair.
- Cut out the damaged section of the joist.
- Replace the damaged section with new treated wood of the same shape.
- Sistering may be necessary to secure the new joist to the original beam.
Post installation
For kitchens in older homes, the joists may be too weak to provide enough support. Alternatively, the foundation posts may have sunken well enough to leave a gap between them and the kitchen floorboards, resulting in a sag. Here’s a proven fix for this issue:
- Use a hydraulic jack to lift the beam up and level the sag. Raise it slowly to avoid cracking the drywall.
- Add an adjustable steel support to the foundation once the joist is lifted to level. Install them under the previously sagging beam to provide long-term support.
3. Level the surface.
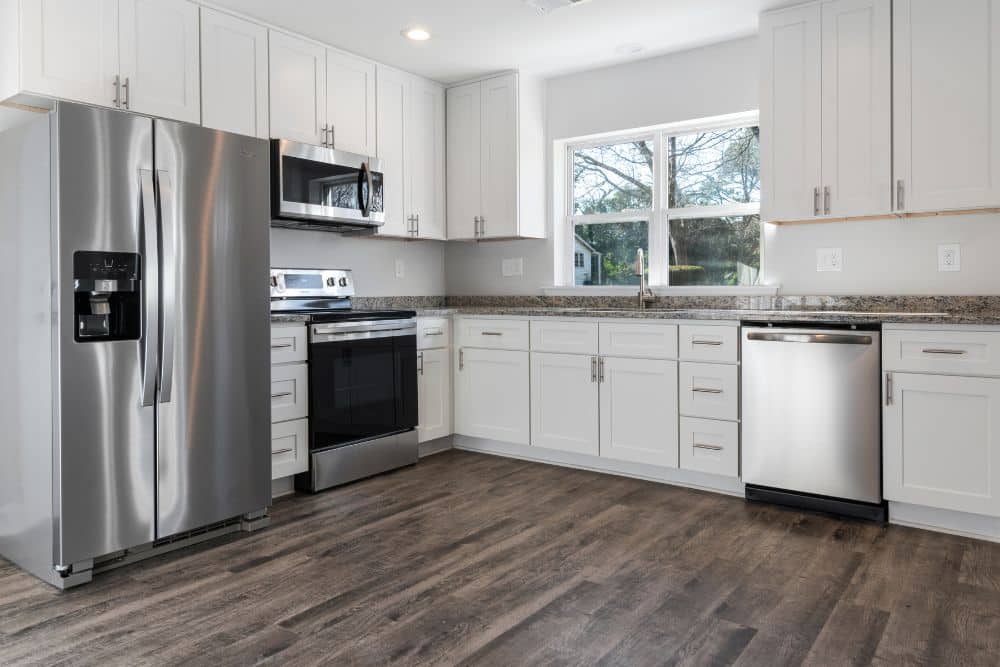
If you’re done fixing the joists and the floor still feels uneven, you may need to replace the subfloor. This task is as simple as cutting out the damaged kitchen subfloor, drying and cleaning the area, and installing a new one. You may also pour self-leveling compound on top of the subfloor to ensure a perfectly leveled surface.
How Much Does It Cost to Jack Up a Sagging Floor?

Professional services needed to repair a sagging floor in Edmonds will cost somewhere between $1,000 and $8,500. Getting floor repair specialists on board may be necessary, especially when the damage is extensive and well beyond a layperson’s expertise.
That said, you can’t always expect to fix a sagging floor on your own. The previously detailed DIY repairs apply only to localized, isolated damage. If the structural issues causing the sagging are present throughout your kitchen and beyond, you will need to get help from the pros.
To Sum Up
Sagging kitchen floors are an emergency that deserves immediate attention. Thankfully, they are often caused by issues that the regular Edmonds resident can deal with on their own. If the damage is severe and could threaten your kitchen’s structural integrity, don’t hesitate to get help from kitchen remodeling professionals.